Category Archives: Electronics

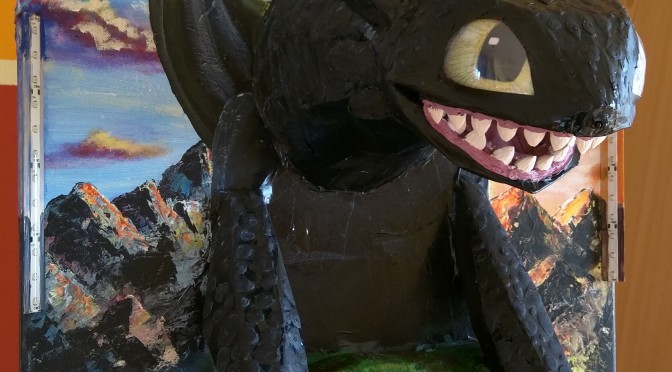
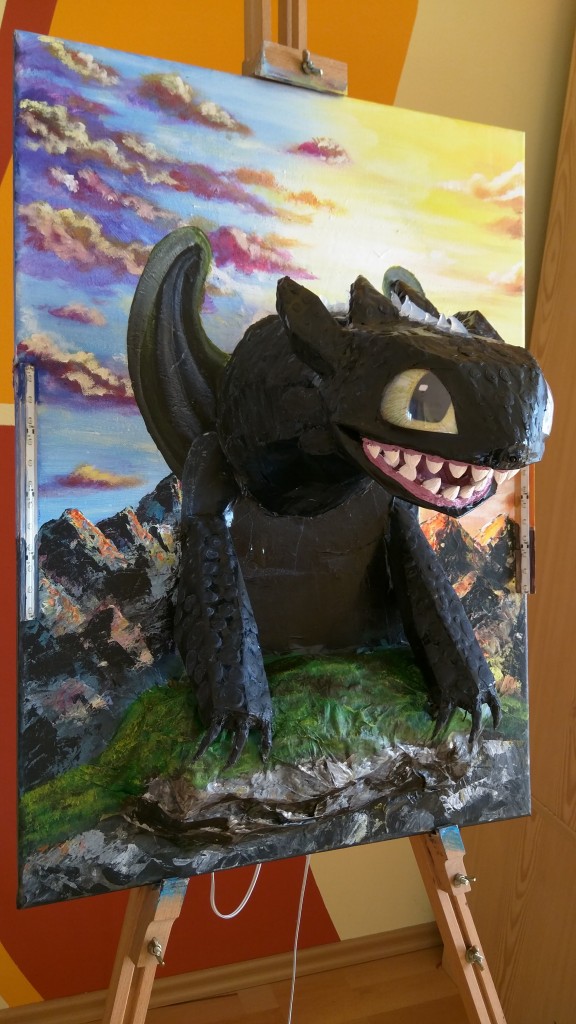
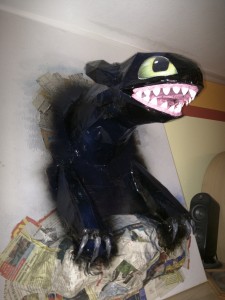
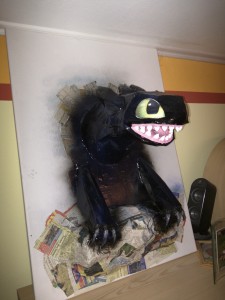
Toothless (Final)

wpid-wp-1444588304116.jpeg

THIS IS THE CONTINUATION OF THE PROJECT:

http://blog.familie-fratila.de/toothless-base-form/

It always takes a little time until I finish my works, but I finally made it.

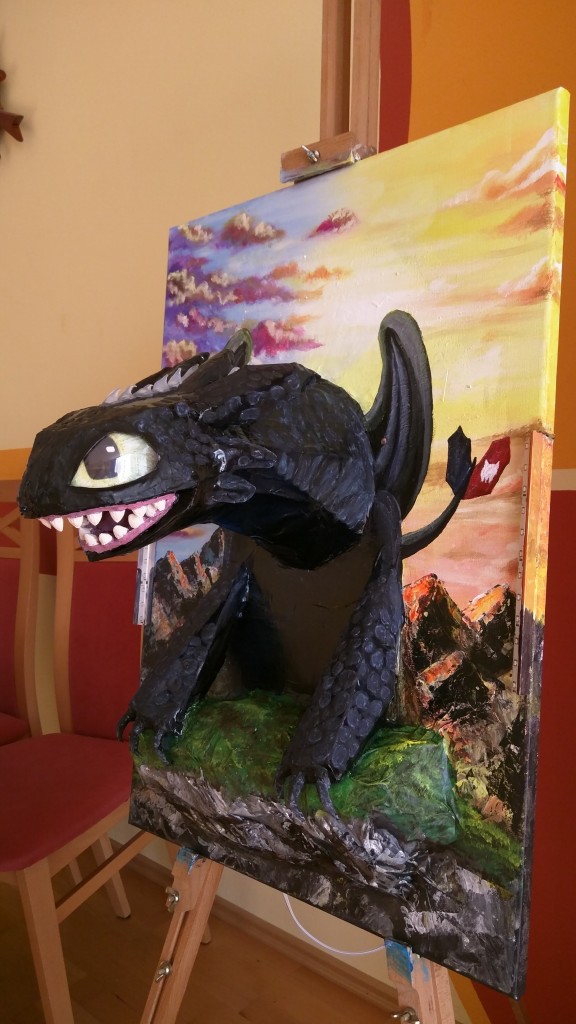
From my last post, the next step was painting the background, clouds, mountains, rock, etc.

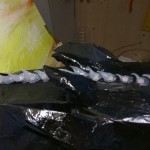
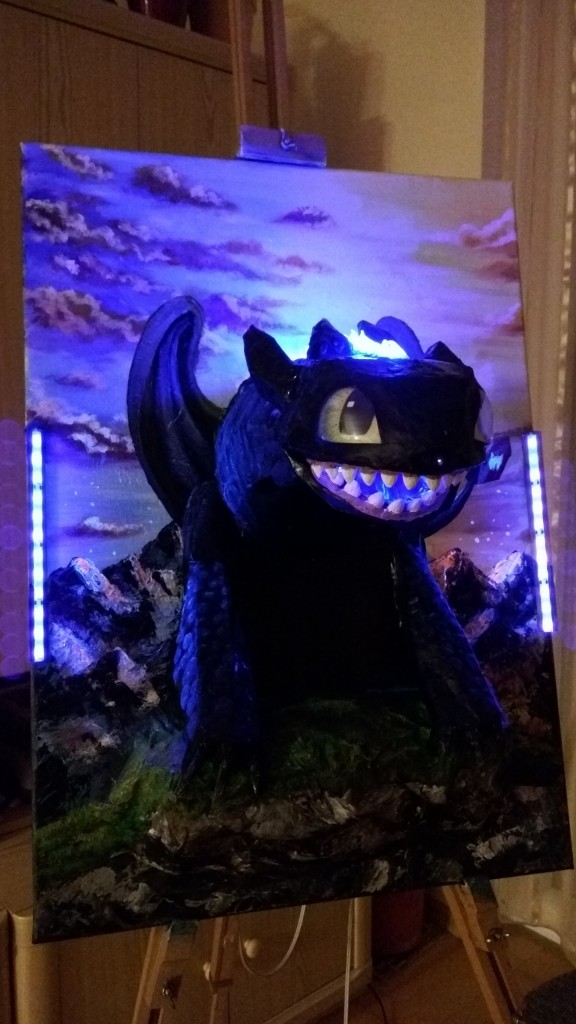
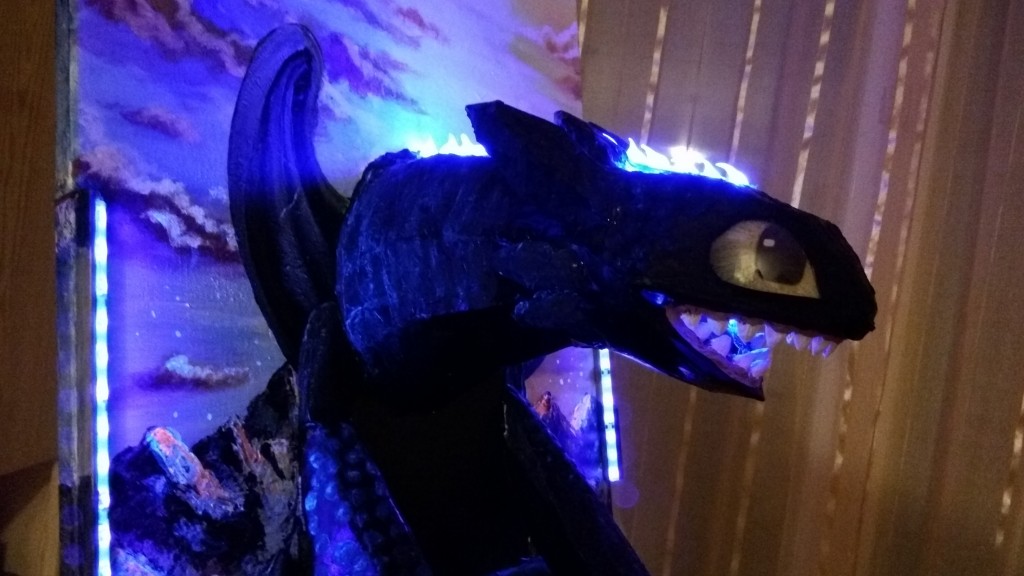
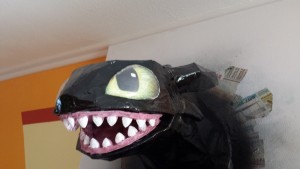
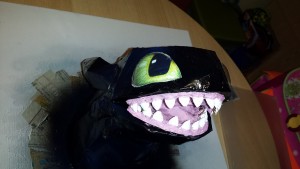
Then I had to create back spikes from silicone, since the led strip from the back had still to be visible through the spikes.Β  I added also the electronic parts: light resistor on the right wing, proximity sensor on the nose, side uv led strips and 2 blue leds in the mouth.

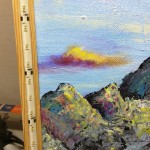
Finally the painting looks like this:

wpid-wp-1444588307341.jpeg

Toothless (Base form)

20150721_174800

I guess there are not many kids theese days who don’t know him: Toothless fromΒ  “How to train your dragon”. I thought I give it a try, since after the firefighter truck for my son, my daughter now also wants some “light effects” in her room.

So the original ideea was to create a Toothless model from the 2nd movie, which can also light up in blue. The final model will be a painting around a toothless model, with blue leds in the mouth to simulate the plasma, a short blue led strip on top of Toothless to light up the spines, 2 uv blacklight led strips on the side to simulate the light on the scales (which will be painted with blacklight paint) a photoresistor which detects day/night (at night it will turn on a night light by default) and an infrared distance measuring sensor on its nose, as a trigger for the “plasma” and to cycle through all programs.

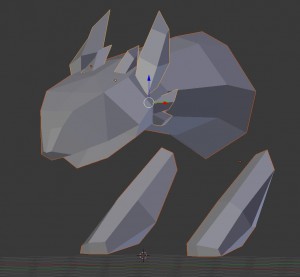
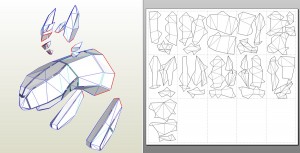
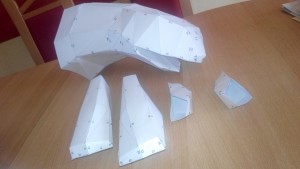
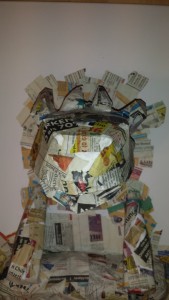
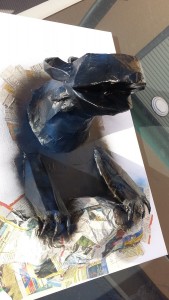
So I started to model the dragon in Blender, and prepared it afterwards for printing in Pepakura. After some hours of work it was cut out and sticked together.

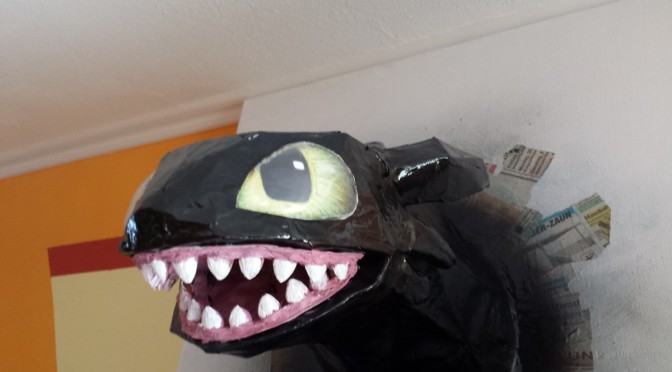
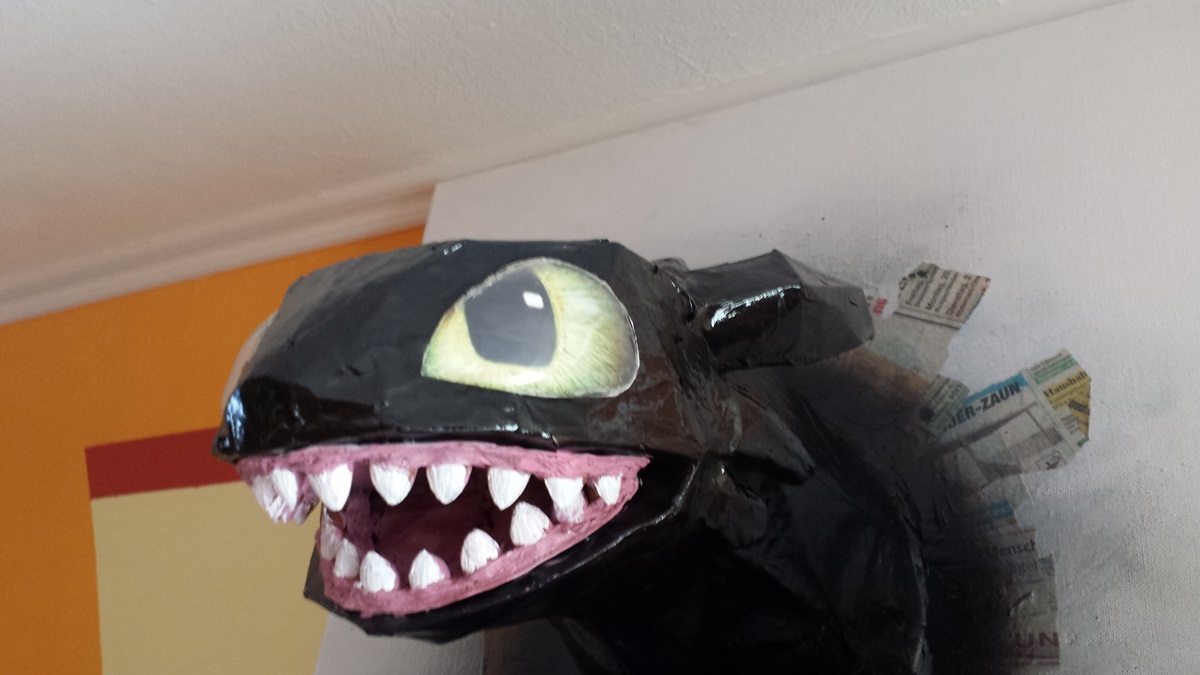
The next step was a layer of paper mache for it to get stronger, and some black spraypaint as the base color.

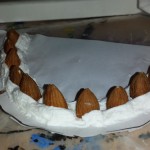
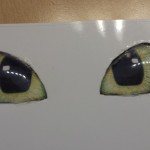
Then I used some almond seeds and again paper mache to make the teeth. And for the eyes I used a part from a plastic bottle and the printed eyes.

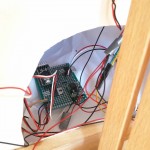
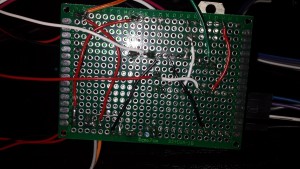
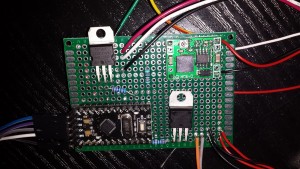
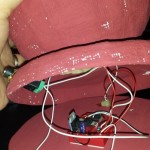
Now for the electronic part, I started to put everything together on a board. Mainly an Arduino Pro Mini will do all the tricks described at the beginning. It is easy to use and can be easily reprogrammed if changes are needed. I just really need to work on my electronics layout and soldering skills πŸ˜‰

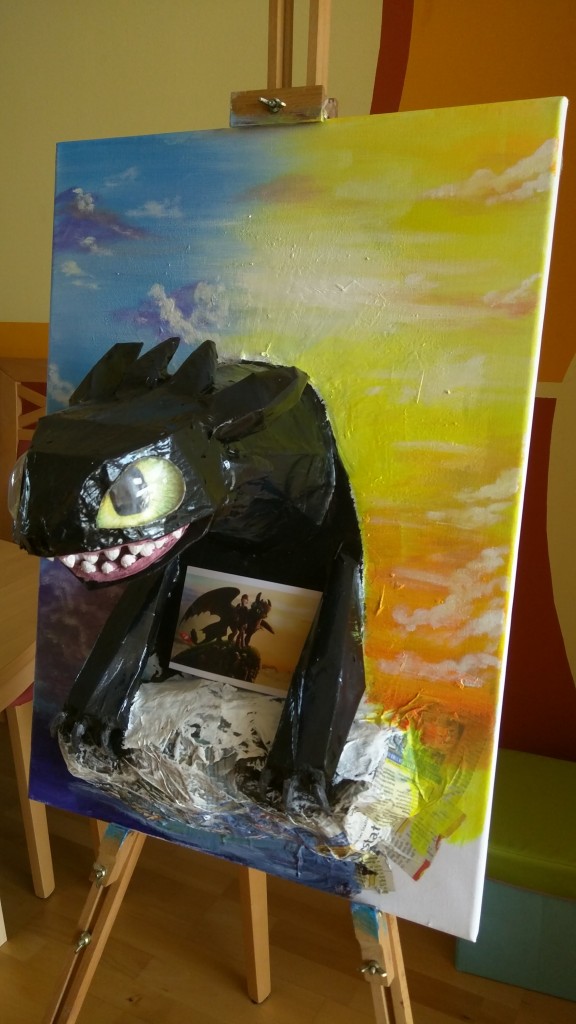
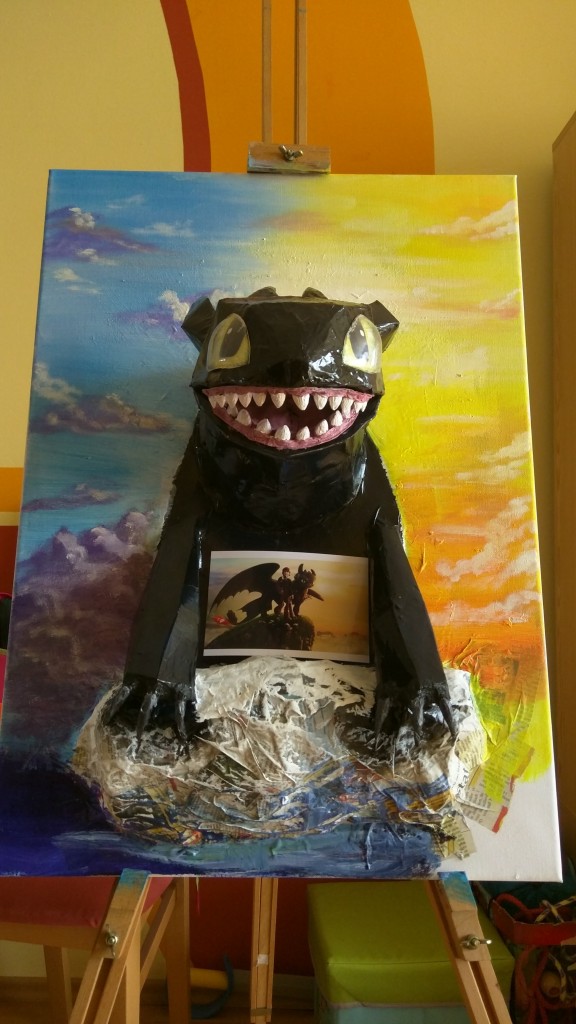
After putting it all together, it looks like this:

Like the title says, this is only the first stage I tried to finish before the vacation. It still needs a lot of work.

Todo:

  • paint details on Toothles (nicer teeth, scales, uv paint, edges of eyes, edges of mouth, spines etc.)
  • paint the background (mountains, rocks, tree, sky) and the rock it stands on
  • put all lights on and wire all the electronics together

Automatic plant growth lamp

Having some leds lying around lazy, I had to put them to work πŸ˜‰

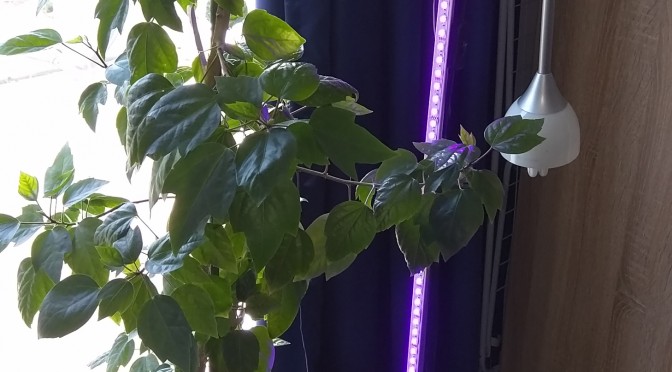
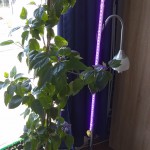
This is just a quick side project. We have a lovely hibiscus home which has quite a high sentimental value to us. But sadly it hardly got any flowers. I thought it is time for a little help.

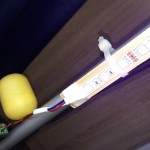
I read some articles which point out that wavelenghts of 630 nm (red) and 460 nm (blue), are very good for the growth of a plant.Β  70% red, 30% blue would be ideal for getting flowers and a strong plant. This matches almost to the point the wavelenghts of the led strip I got.

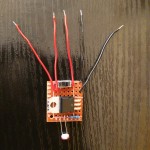
Next I wanted to preserve the day-night cycle which a plant needs, which schould remain the real day-night cycle. For that puprose I developed a little light sensing electronic part, which turns the leds on if it is day outside, and back off at night.

Hope we get some flowers soon πŸ™‚


VR Controller (Step 2: AirMouse)


So I managed to get my virtual reality controller to the next step.

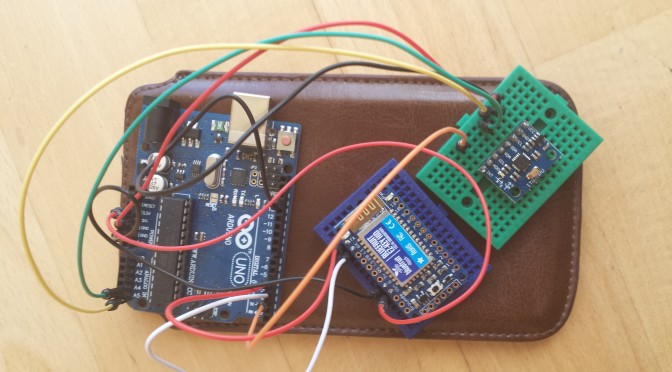
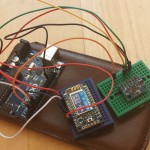
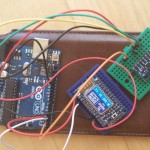
Took some time to find the best blueooth adapter, but i finally got one to act easy as a HID:Β  Bluefruit EZ-Key. This is a very easy to use component, which can be used even without an Arduino, just a few buttons soldered on the right pin. For my purposes a serial communication between a microcontrooler and it is crucial, since I don’t need only the basic buttons handled.

As a gyroscope + accelerometer I sticked to the GY-521 which is a breakout board for the MPU 6050 chip. This one is more tricky since it requires I2C communication, which is totally new to me.

The programming of the Arduino was not so difficult, only the I2C part took some tinkering, but I got it to work since I didn’t need to learn only some parts.

Finally it can be used to connect to any BT device like PC, Arduino phones and tablets, and play games which handle mouse/keyboard input.

Todo in the next step:

  • try to make a glove out of it
  • replace Arduino with Atmega 328
  • solder everything on 1-2 perfboards
  • add on/off switch
  • add buttons to fire/action
  • add some tilt sensor for moving forward/backwards

Ultrasonic staircase illumination

Just the beginning of another of my projects.

Some time ago I thought about making a staircase illumination using a programmable LED strip, which should only light up near the person going up/down the stairs.

So the last idea was to use an ultrasonic ranging module to find out the persons position on the stairs, which then triggers the corresponding LEDs to light up.

Parts used:

  • Ultrasonic ranging module HC-SR04
  • Arduino
  • WS2812B programmable LED strip

Todo:

  • make some trailing effect for the LEDs to go out smoothly after person passes by
  • put strip in a frame and minimize the electronics
  • replace Arduino with ATMega328

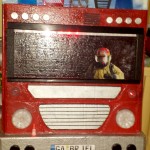
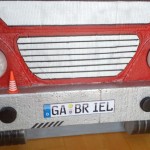
Firefighter truck painting

http://www.instructables.com/id/Firefighter-truck-painting/

FB0VV2II7VQKSJZ.LARGE

And another long overdue project of mine, which started with us painting my son’s room.

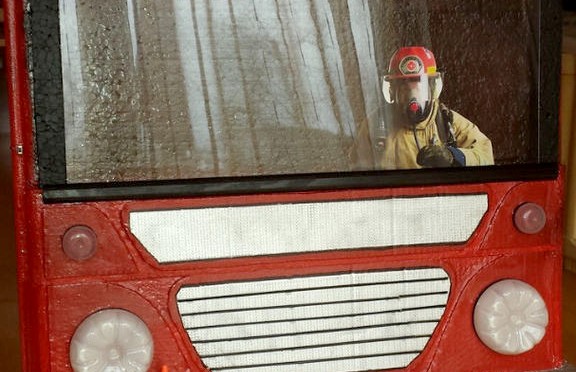
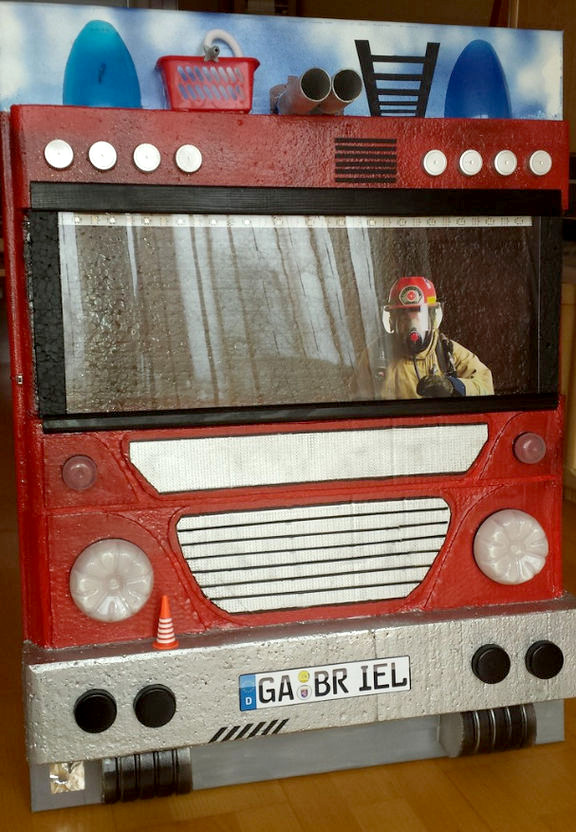
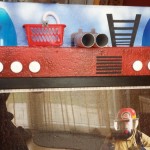
My son also wanted to have a firefighter truck painted on his wall. But since I had some electronics stuff on my mind which I wanted to try out anyway, I promised him much more than a painting.

The idea behind, is to have a somehow 3d painting, with lights, and more states of programming. I decided to go with this:

  • Idle mode: all lights are off, but if the light sensor senses no light, the headlights go on 20% of their power
  • Headlight mode: headlights go on 100%
  • Action mode: all lights animated somehow like a real firefighter truck (see video)

Cycling through all actions is done with a touch sensor on the lower left part, near the wheel.

VR Controller (Step 1: Trials)

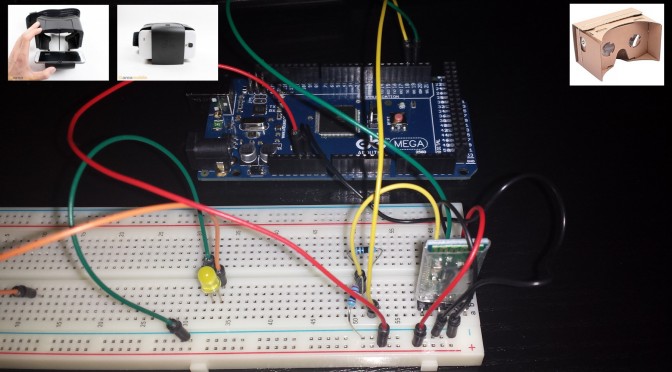
All the fuss theese days about VR really put me in the mood to try at least something from all the offers which appear on the market. Of course you can go directly for a Oculus, but even that is still only a development kit. So I decided to start small not spending too much from the start, since I didnt know if I like it. So I bought a Google Cardboard. This one is about the cheapest VR you can get πŸ™‚ since you put your phone into it, load some special apps and games, and you have VR. And I have to say I was amazed.

If you want more than just cardboard, you can go for Durovis Dive, which is basically the same thing 5x more expensive, but, and here comes the interesting part, it comes with the Dive SDK for Unity3D which allows you to make a 3D world for the glasses in about 10 minutes. And it really didnt take longer.

Ok, now you have a full VR experience (if Oculus, Dive or Cardboard) but your hands still hanging there, your actions are still limited on (in my opinion) very old-school HIDs (keyboard, mouse, gamepad, etc.).

Some times ago I started to tinker around with electronics components. Still have pretty basic knoledge about electronics, and don’t understand most electronics signs πŸ™‚

And it got me thinking. Given an Arduino, a bluetooth module, some sensors fixed on my body (like tilt sensor, gyro sensor, compass module, and a few buttons), what could stop me to make a next gen game/fitness/generic controller?

My ideea is to do a lot of stuff with it: make a fitness app which will be controlled by running on a treadmill (or using a workout bike). Something like the old Nintendo Wii and the running game from Sports. Or a game like Temple Run, in which running the treadmill faster, gets you faster in the game. Or a shooter where you really run… etc.

For this I would like to create a game controller which records the leg movements, direction, body position, etc. which would then influence the actions in the game. A lot of detals I still need to work out.

I would like to be able to record more then a conventional controller does (more than just up, down, left, right, etc) that’s why I would like to build one and not buy one and break it apart and hack into it. That, and for kicks πŸ˜‰

STEP 1:Β  Gather all hardware needed

Well, not as easy as it sounds. I started with an Arduino Uno thinking it will be enough. Had to upgrade to Arduino Mega since it has 3 serial ports, and the SoftwareSerial support on the Uno wasn’t working so smooth. And the reason is the next module. Until now I thought a HC-05 bluetooth module would be enough. And it is up to a point. It only supports SPP for communication. It wasn’t hard toΒ  write a little code on the Arduino, connect it to my smartphone, and use it as a little chat aplication. But as soon as I wanted to connect it as a keyboard or mouse, the trouble started. Using AT commands I configured every relevant flag on the HC-05, only to find out the it actually doesn’t support the bluetooth HID profile, which would allow me that. For that I would need at least a Bluesmirf RN42-HID or a BlueGiga WT12 module, which support both SPP and HID. Or to flash a new firmware on the HC-05 (a really messy solution)

So I can either upgrade to a better bluetooth module, or use the HC-05 in SPP mode, and write an andoid driver app, which converts the messages from Arduino into HID events and deliver them to any Android app. But for this a rooted phone is needed (no problem either).

(… to be continued)

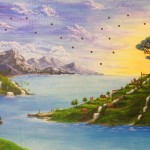
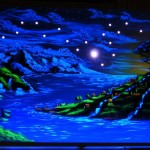
Island City – Starry Night

http://www.instructables.com/id/Island-City-Starry-Night/

This is a project I started more than 6 month ago (not much spare time in my house πŸ˜‰ ). We needed something for the bedroom, which would light up automatically, and not too bright, enough to find your way into bed, and not wake the other one up, which is most of the times my wife πŸ˜‰

Have seen online a lot of solutions for a starry night ceiling and paintings. Gathered all those ideas, took the best ones and put them into this one.

As soon as I discovered the potential of blacklight painting doing this painting, I knew I will probably never do a painting without it. Have a lot to learn on how to mix colors to get the nicest effects, and it really looks good in the dark (way better than all pictures I shoot with my camera).

From all the solutions for the stars I chose the fully programable rgb leds, since I wanted to be able to program some of the starts to go bright randonmly from time to time.

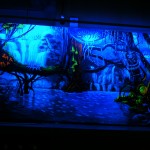
Bioluminescent Forest

http://www.instructables.com/id/UV-black-light-painting-for-everyone/

Since I was a child I was fascinated by fluorescence, phosphorescence and bioluminescence. Seing the movie Avatar was the cherry on top that motivated me to make some of my own decorations.

Some time ago I discovered what UV painting is and decided to try it out. A few Artists I found also tried to merge daylight painting with UV painting. Meaning that by day you see a normal painting, and if the room goes dark, and uv light is on, the painting looks just like a scene from Avatar by night, glowing, shining, … and suddenly I wanted to make this a hobby of my own.

Elven Magic Orb

http://www.instructables.com/id/Elven-Magic-Orb/

It all started with me browsing through Instructables and finding a lot of great ideas. I came across the CapSense Arduino library and a great instructable, and just had to try it out. The idea behind is you create a proximity sensor using just aluminum foil, an Arduino and a 10 megaohms resistor. It is very easy to put the peices together even for an electronics beginner as myself. I got it started and a LED was blinking based on the proximity of my hand. As soon as my kids saw this, it was not my project any more, and I had to stand behing letting them play with it. I got them to back off only by promising them a magic orb based on this … πŸ˜‰