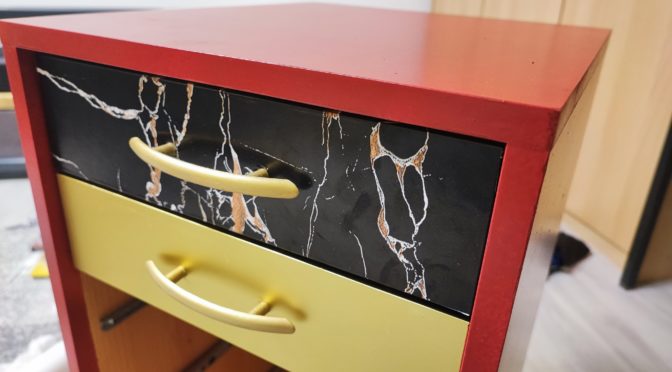
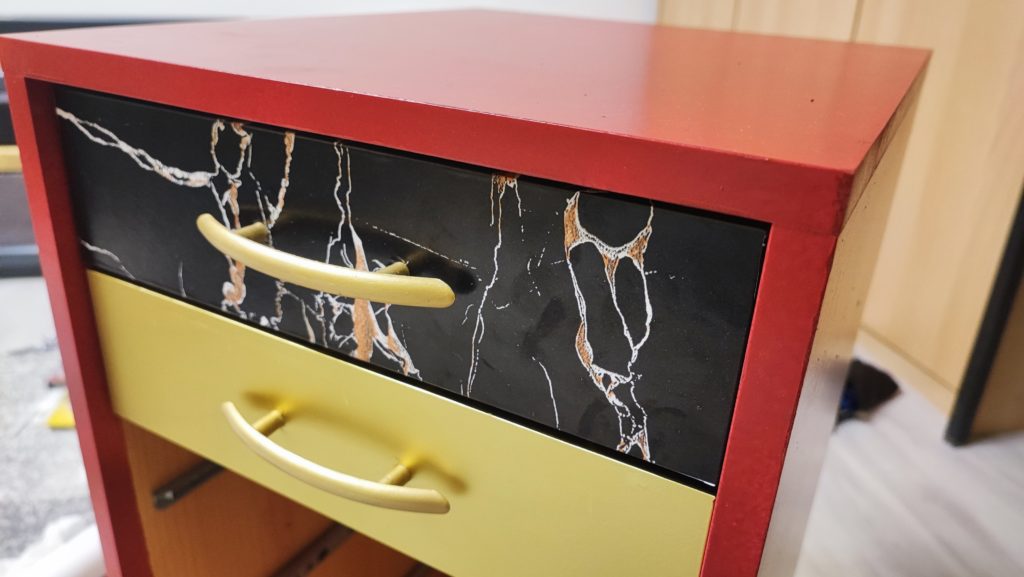
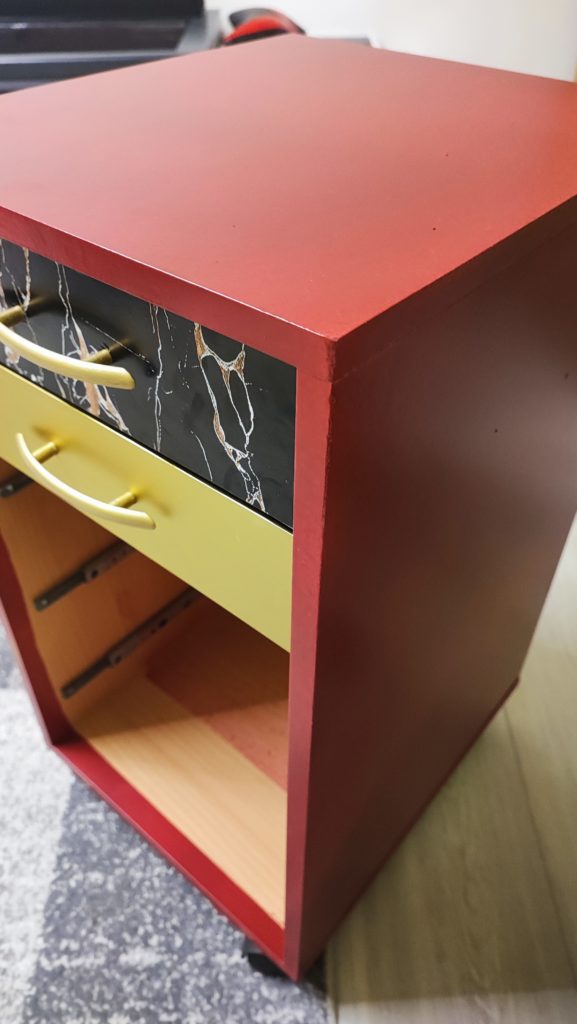
And some more upscaling cheap or old furniture I had. Still in the learing process so a lot of mixed styles will be available in my work room … or just lets say art needs to be unique 😉

And some more upscaling cheap or old furniture I had. Still in the learing process so a lot of mixed styles will be available in my work room … or just lets say art needs to be unique 😉
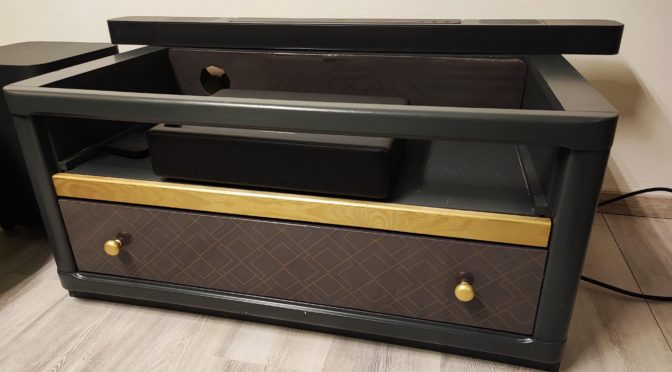
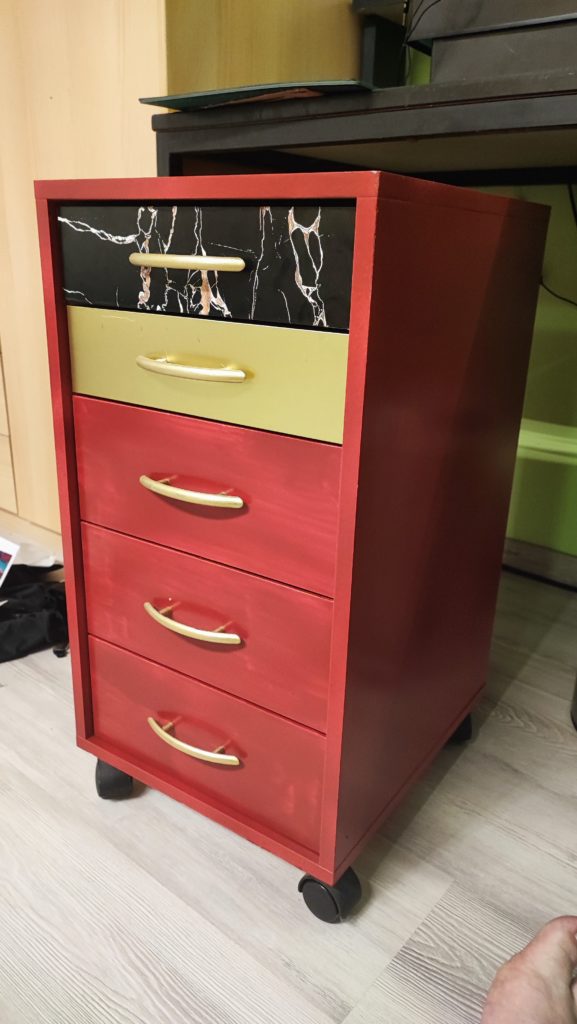
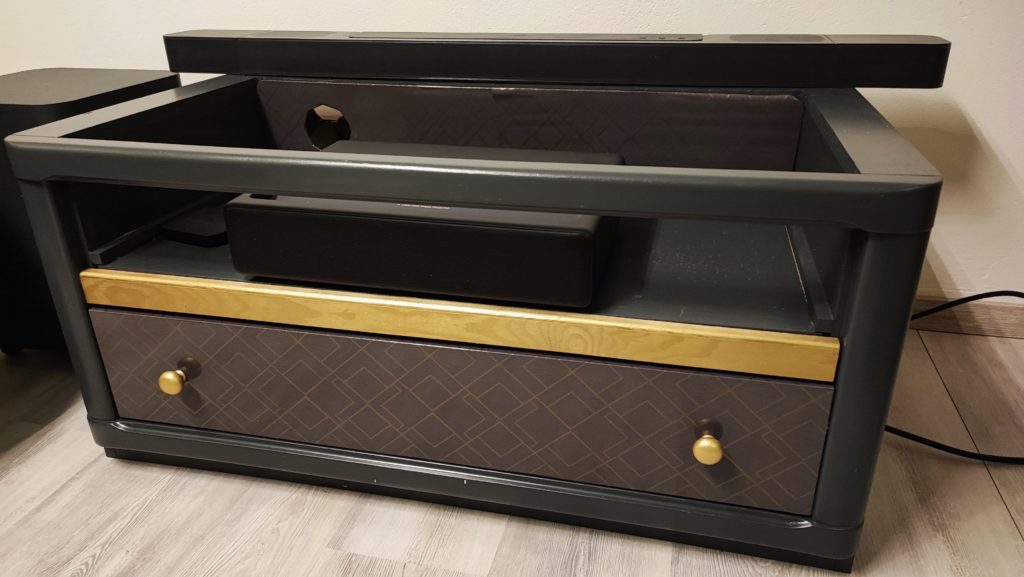
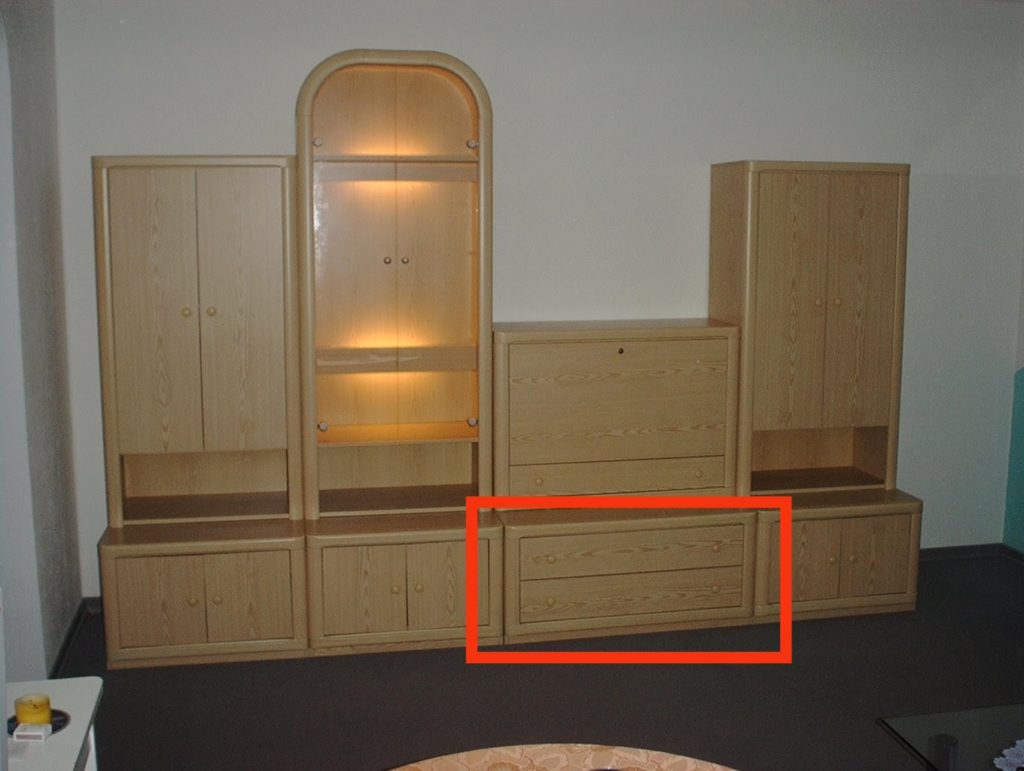
Lately I got more and more interested in upcycling old furniture. You have a lot of options for making something modern from something old. The internet is full of ideas and it almost gets to be a trend. So I wanted to try it out. I got this really old furniture. One piece was a TV holder of sorts. I wanted to build it into a projector holder. So it needed also a little of building, cutting, etc. before I got to paint it again. The result is not perfect for sure, but it got my interest and I will do it again for sure.

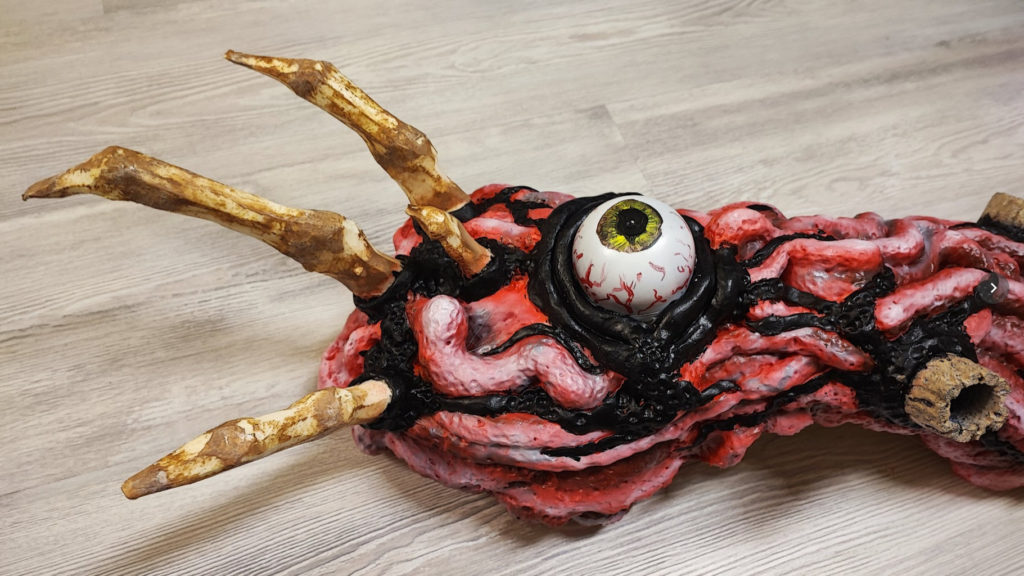
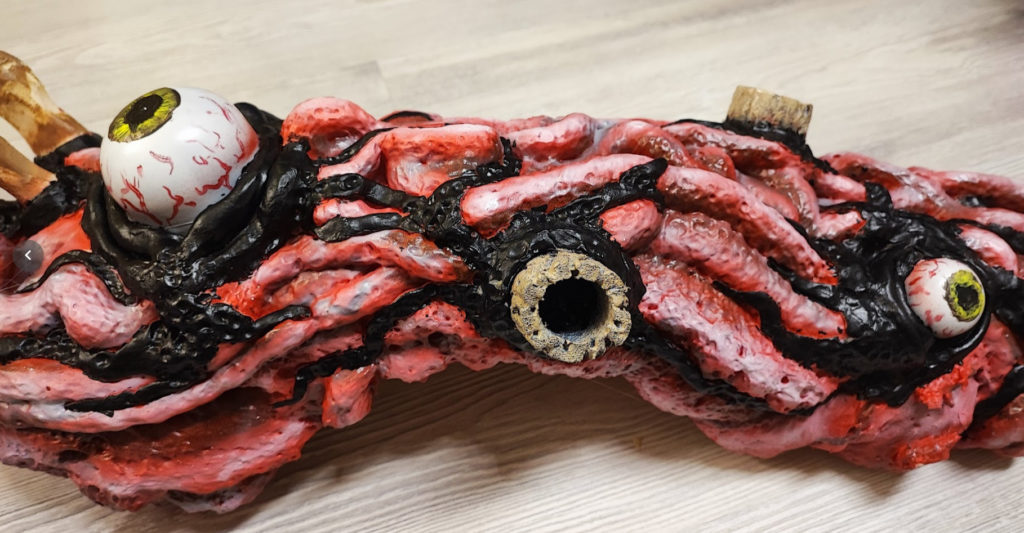
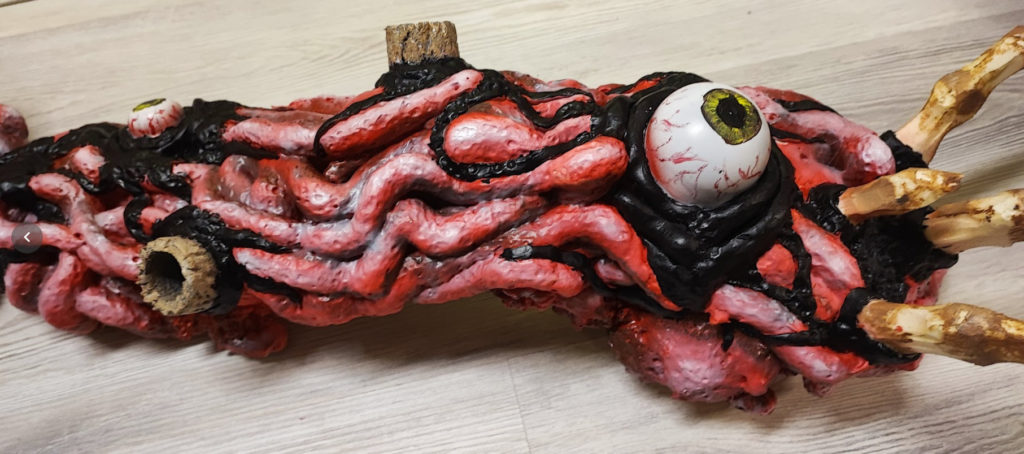
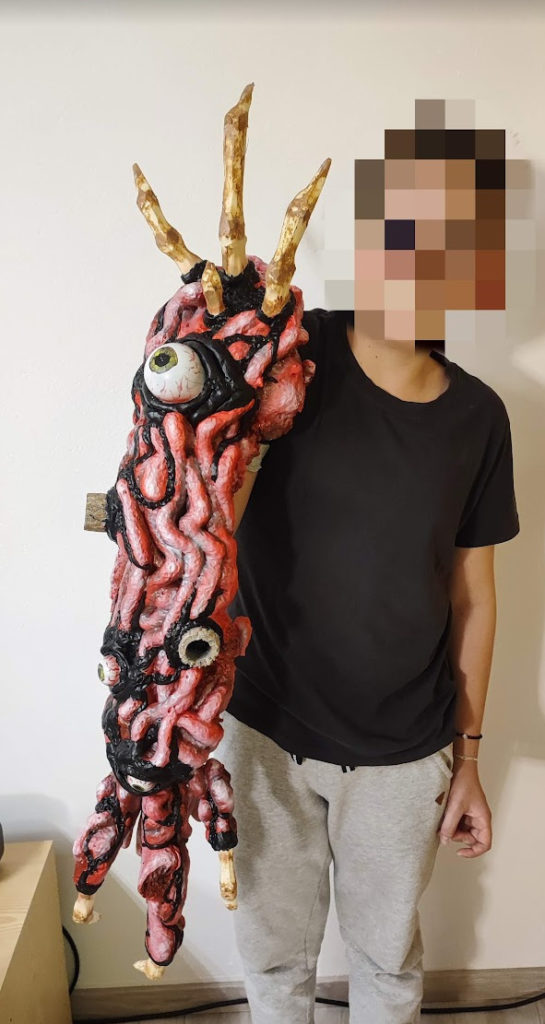
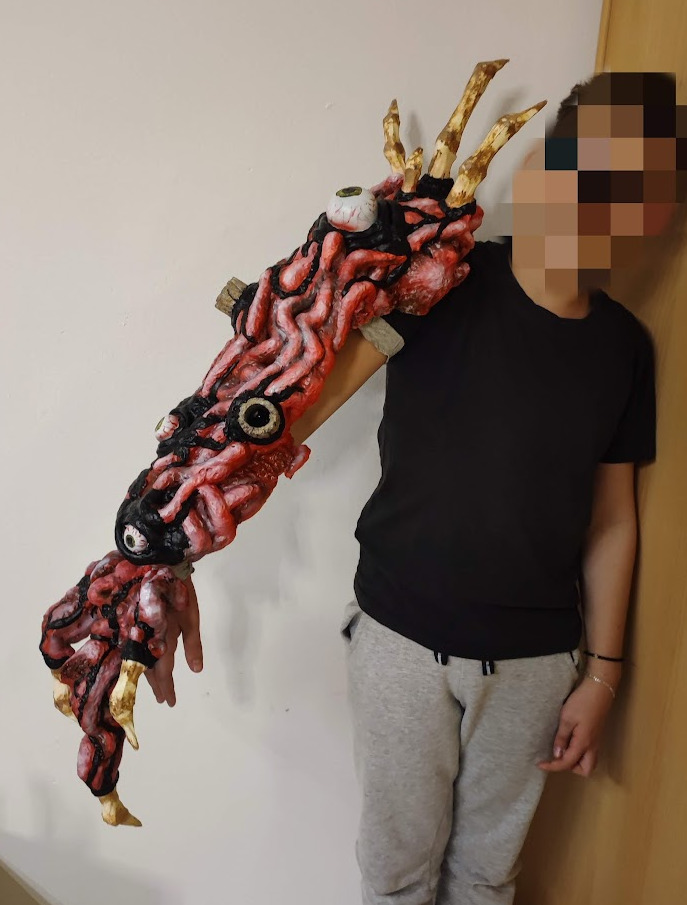
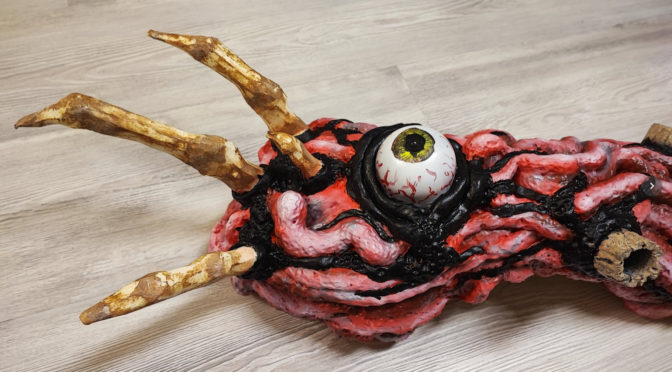
A halloween pro I did with my son for a contest on instructables.
Here are the instructions>
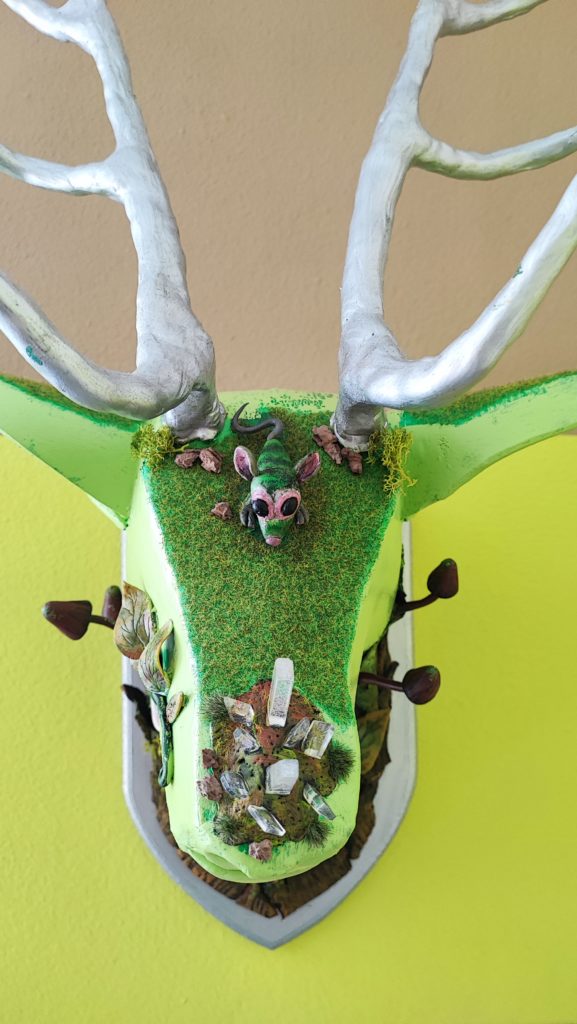
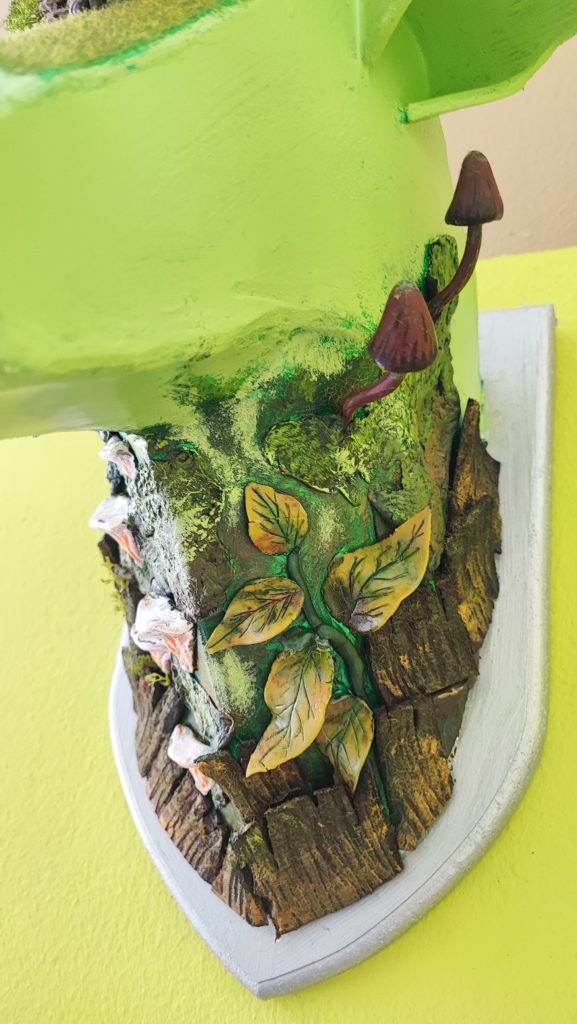
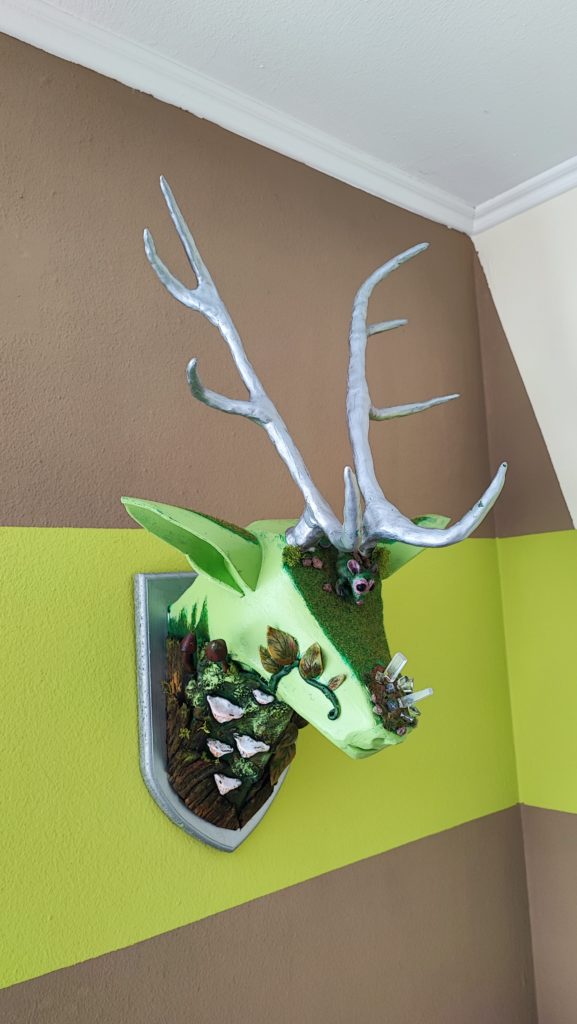

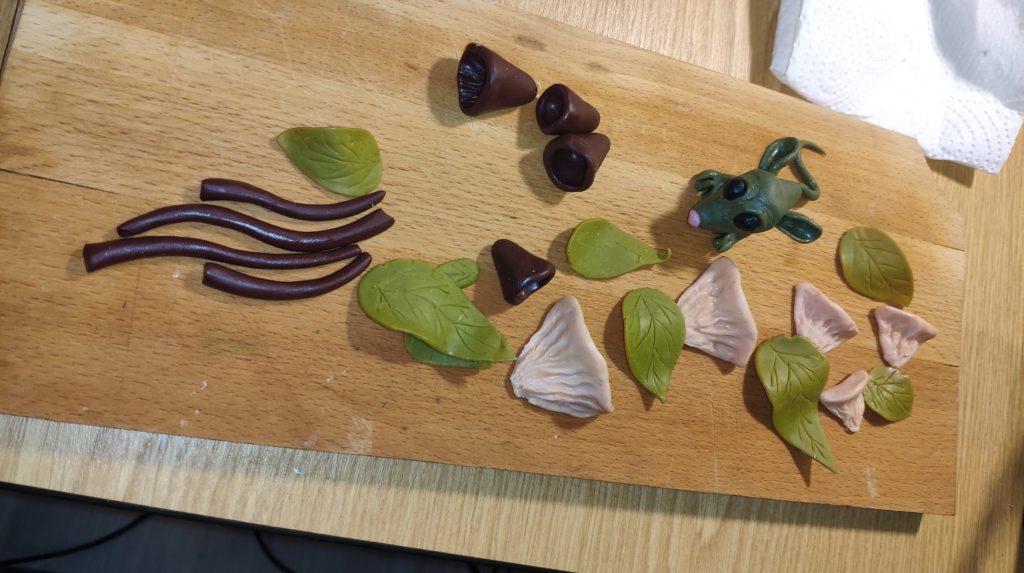
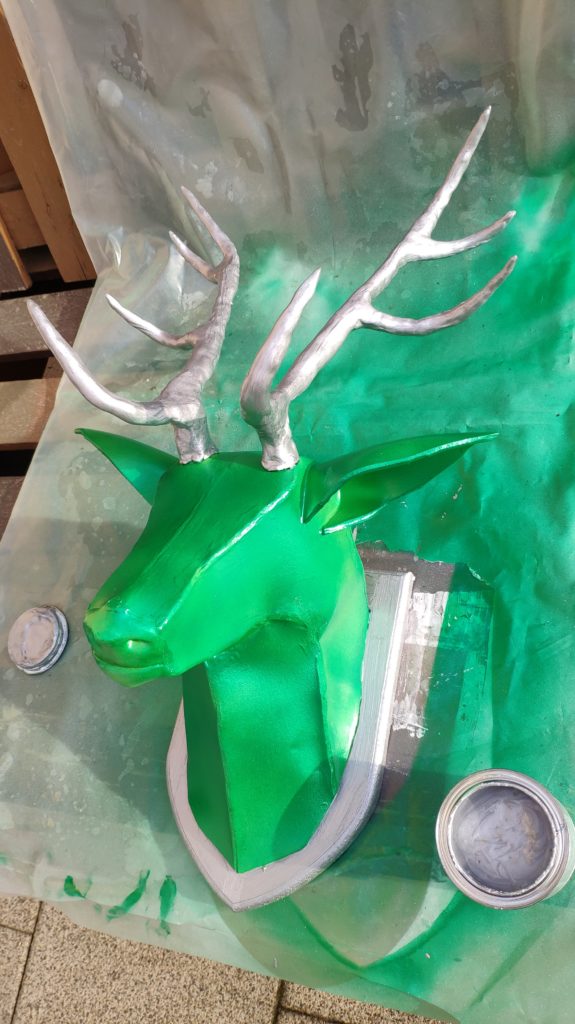
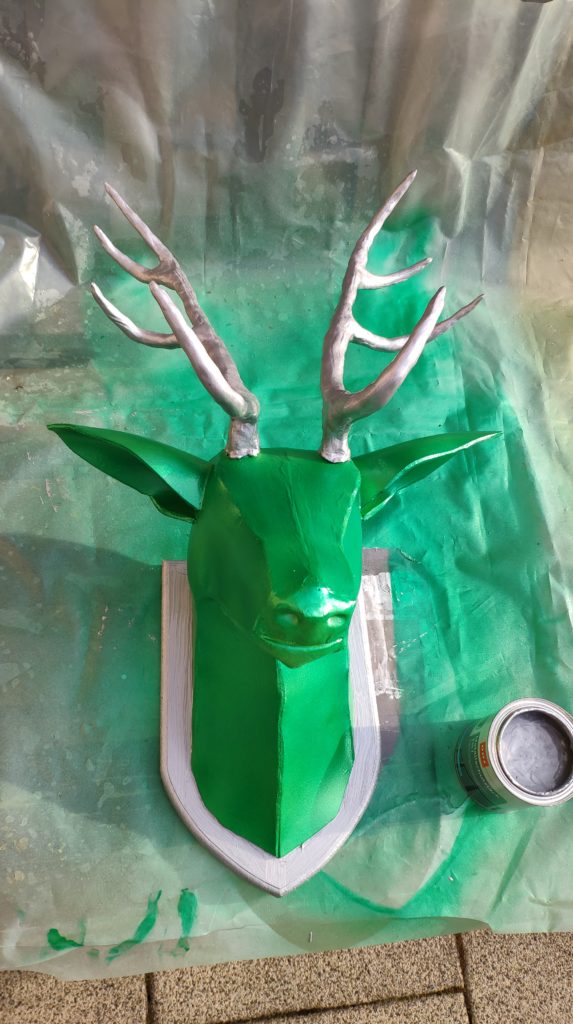
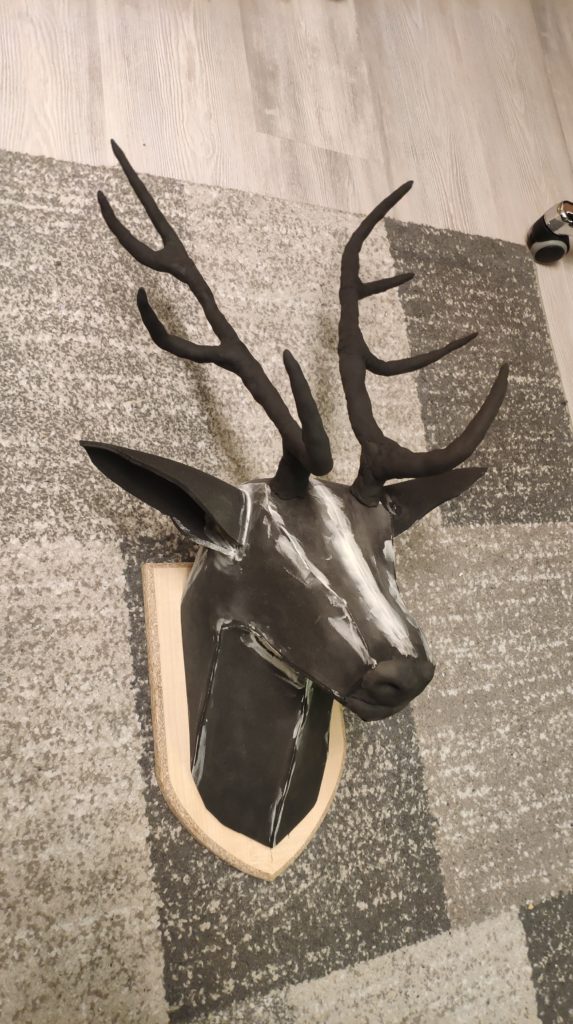
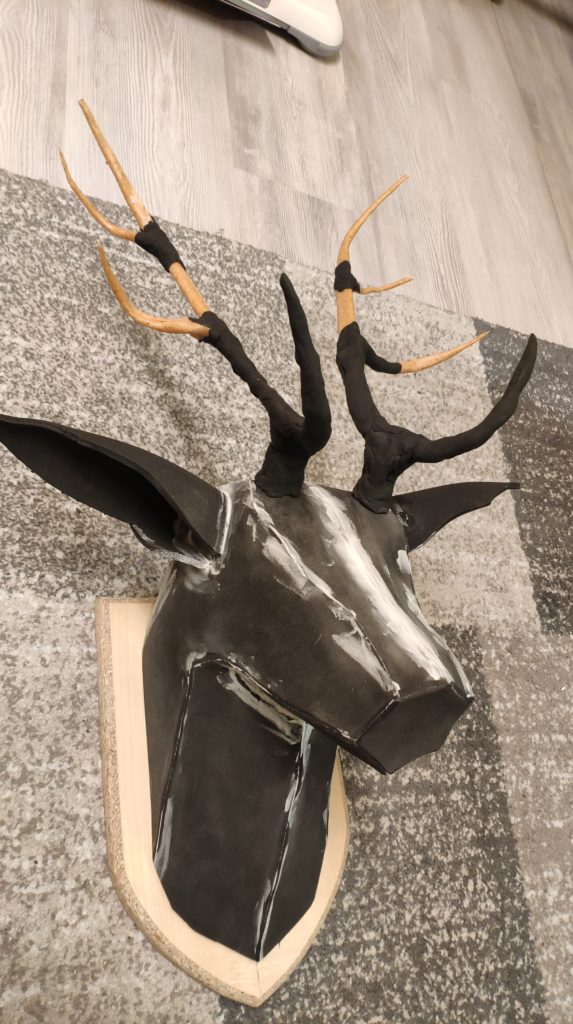
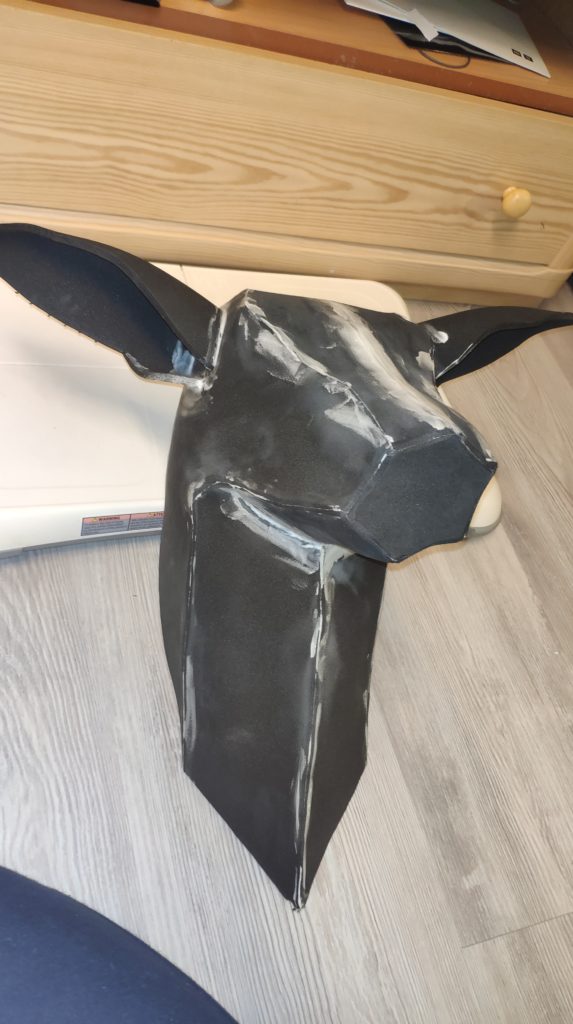
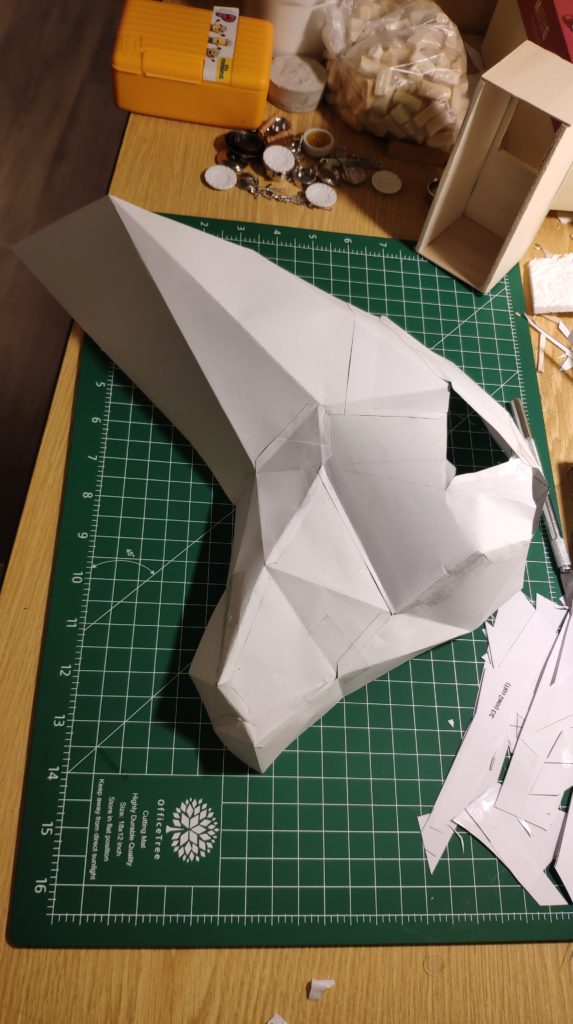
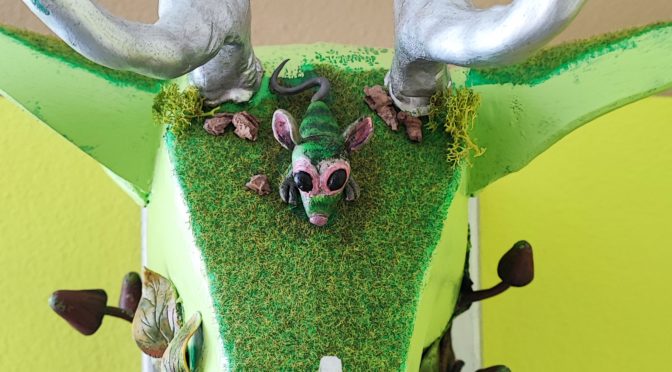
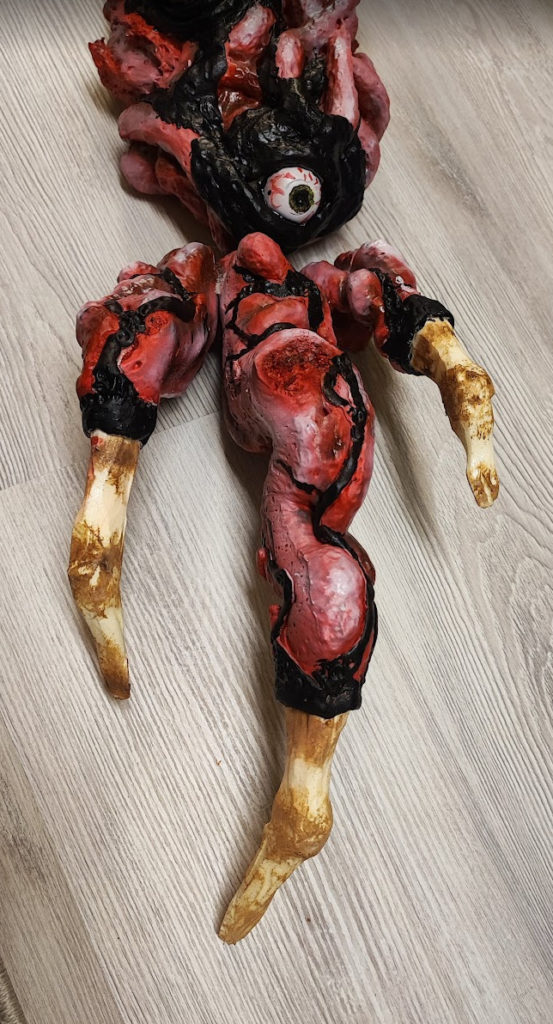
Another project. A deer trophy also for my living room. Actually here I was trying a lot of techniques from worbla, eva foam, epoxy resin, car paints etc…
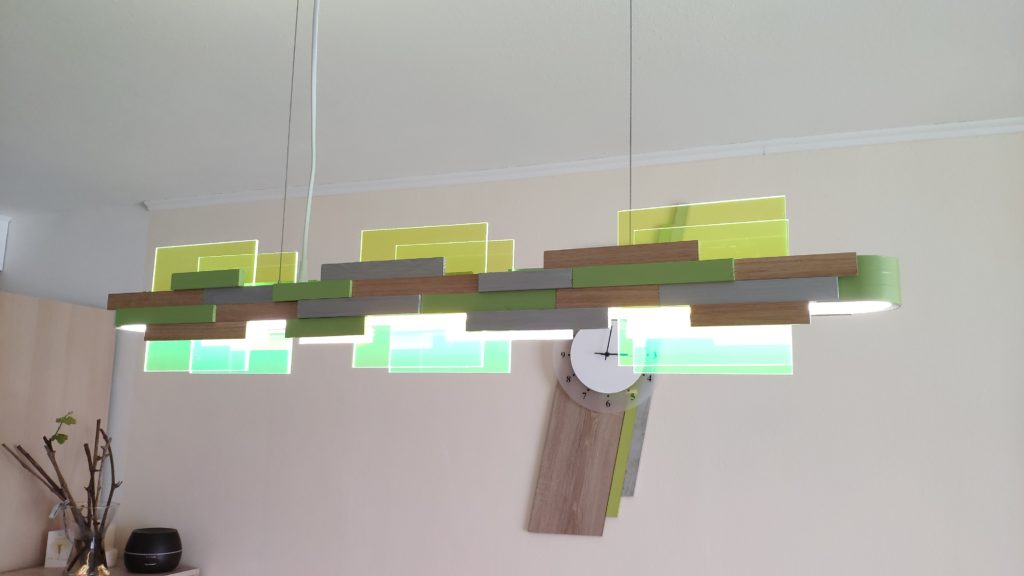
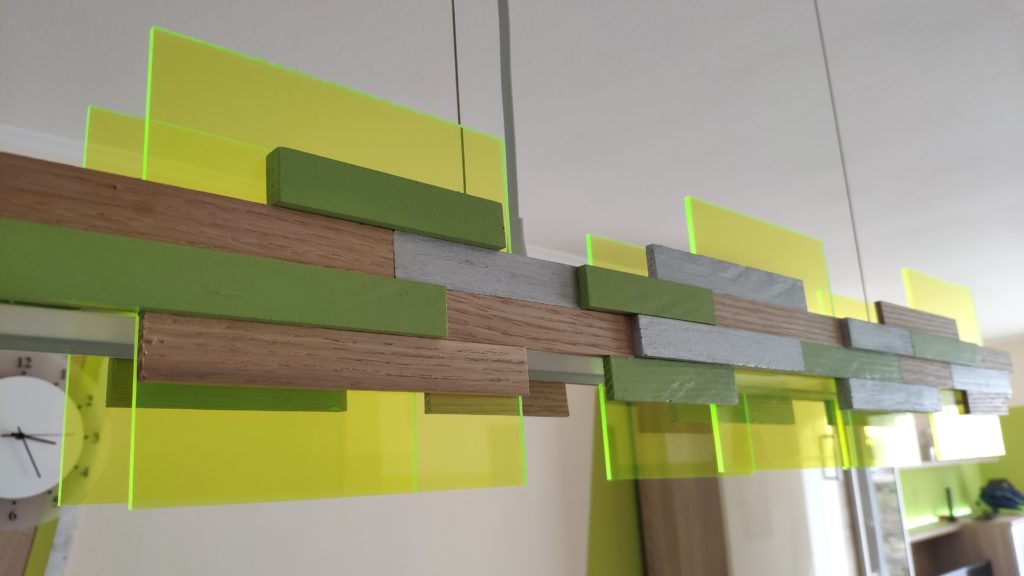
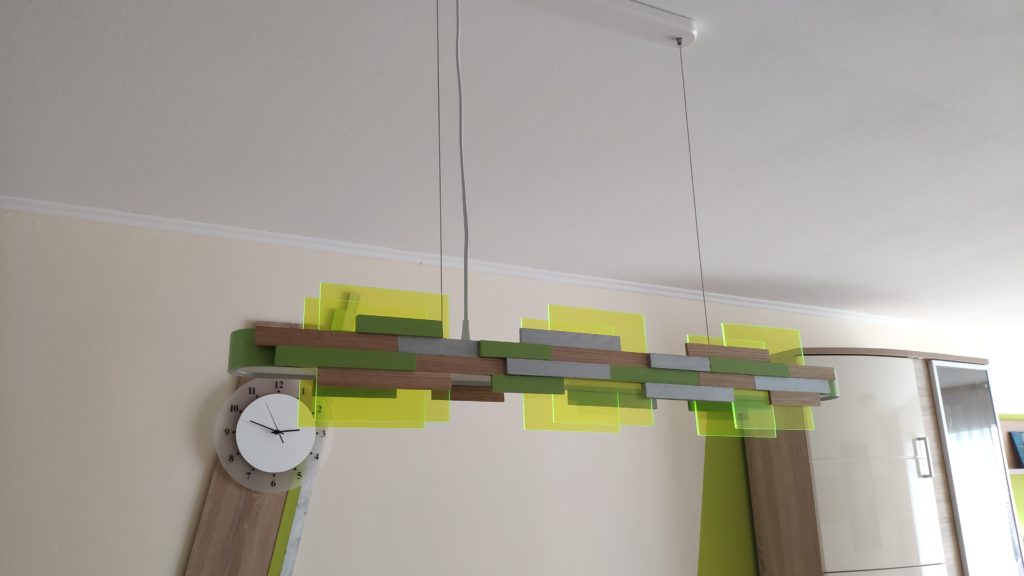
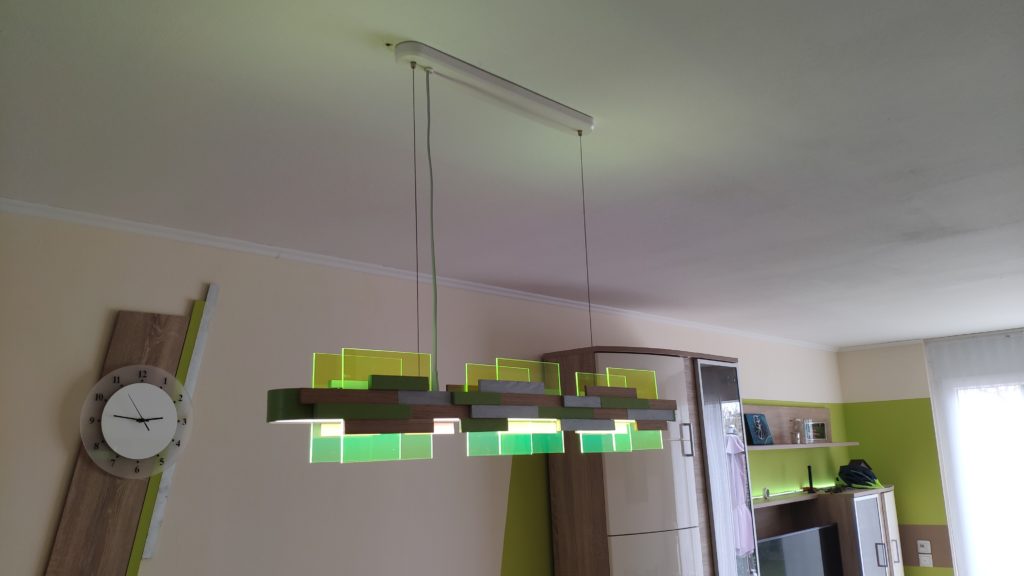
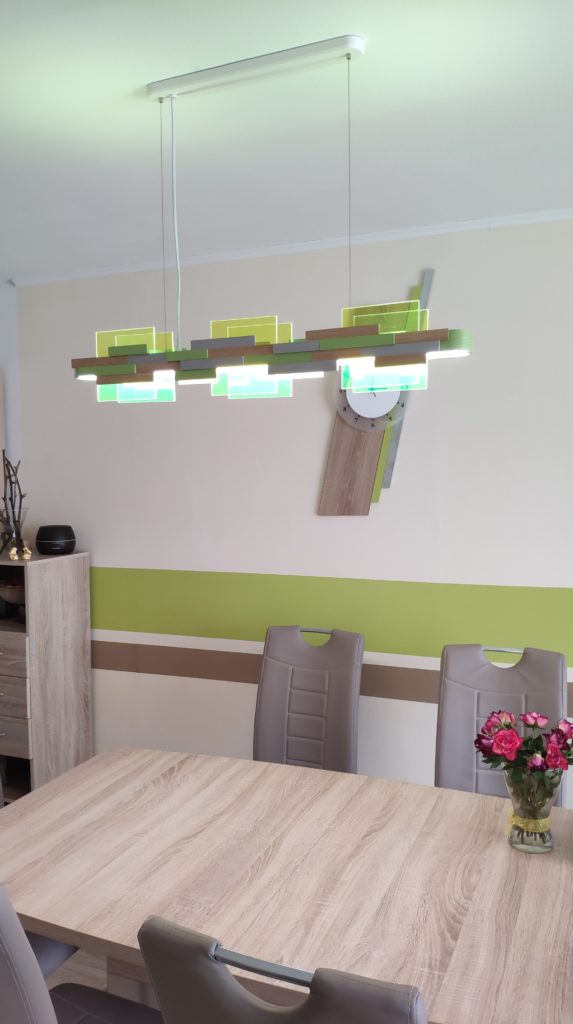
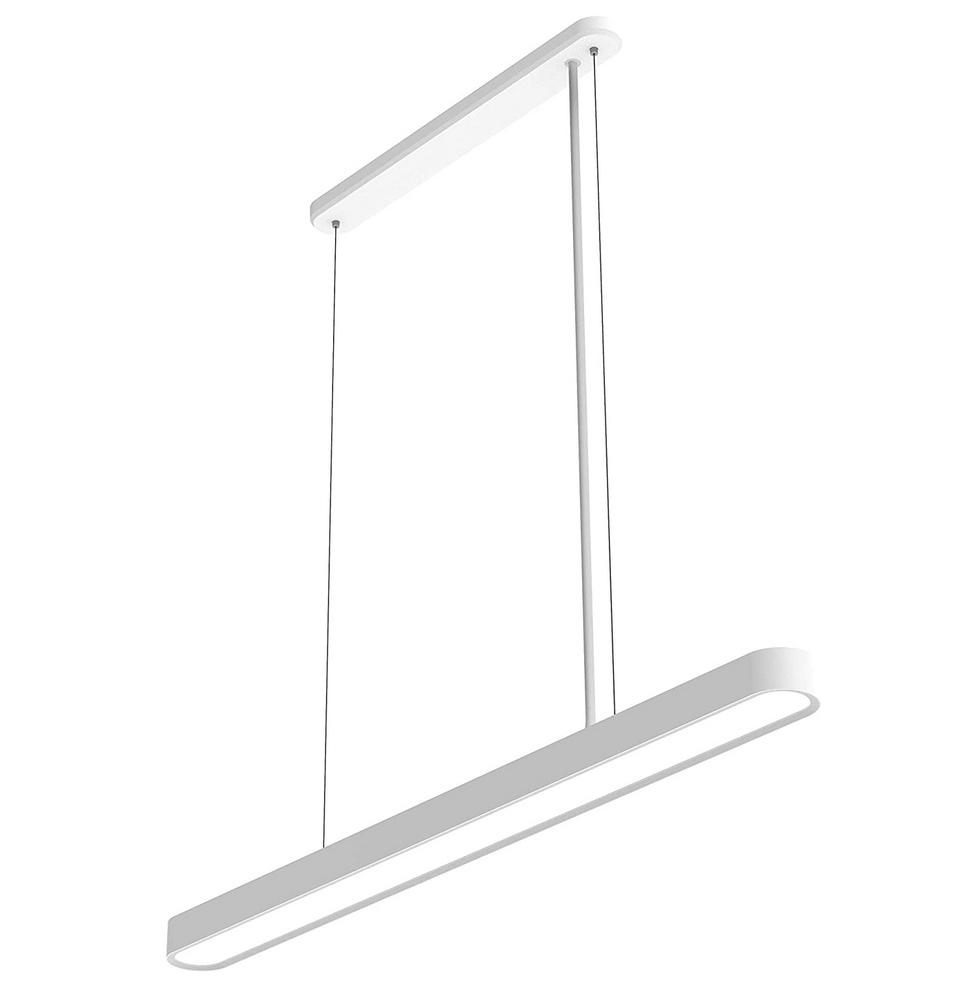
Needed a new lamp for the table and didn’t find anything to go with the design of my new living room. So I decided to start with this smart lamp from Xiaomi and decorate and paint it until it fits.
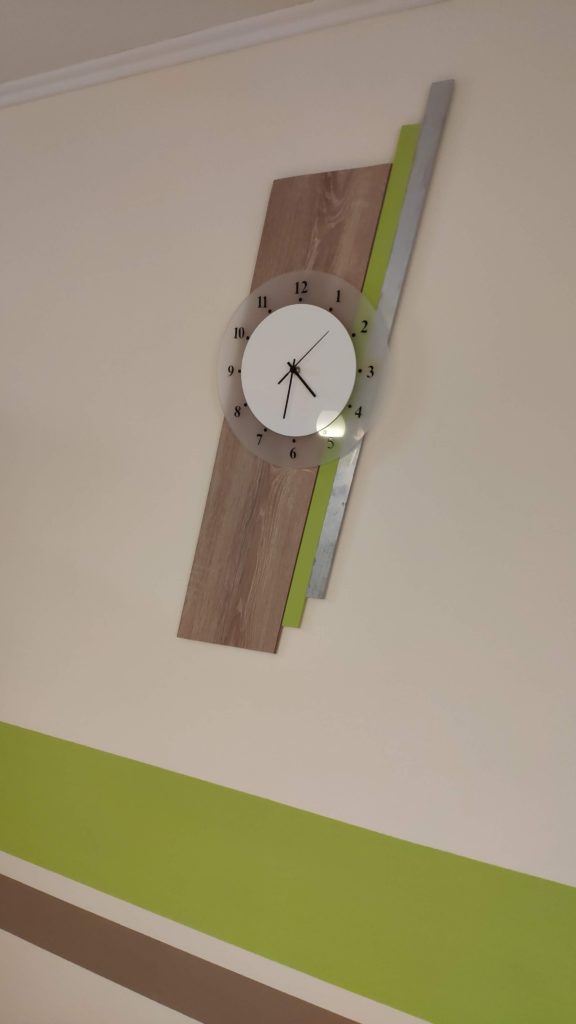
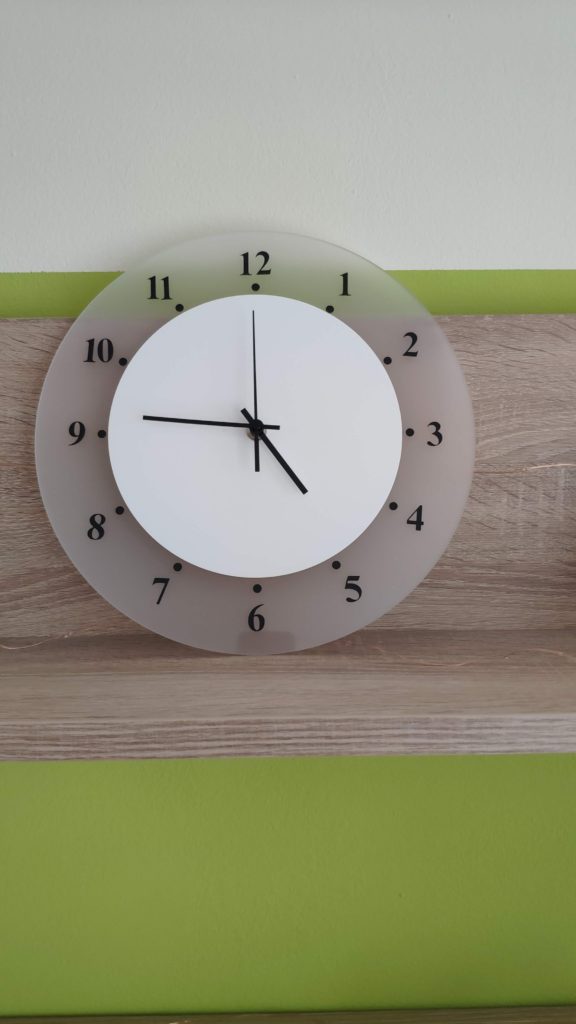
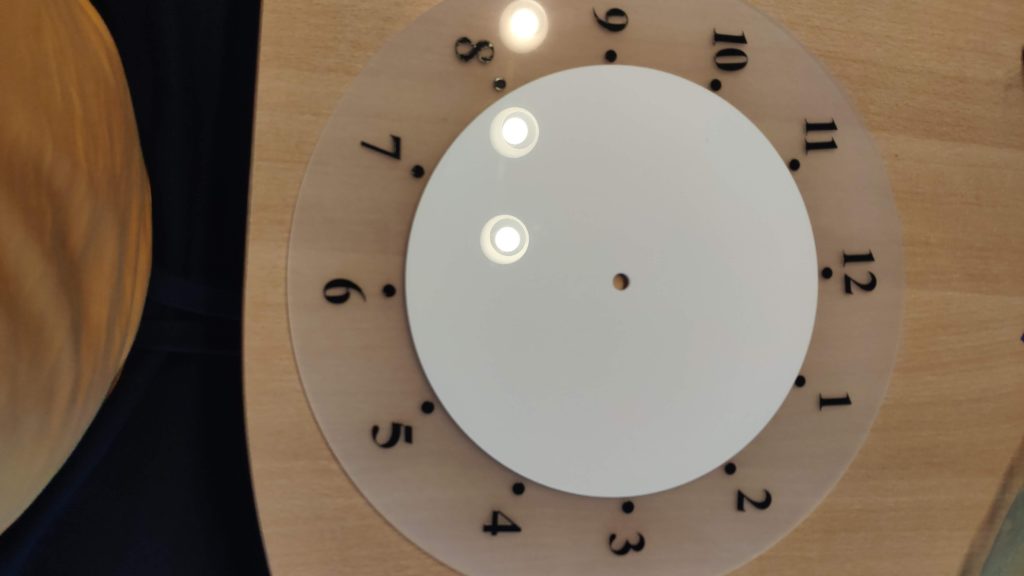
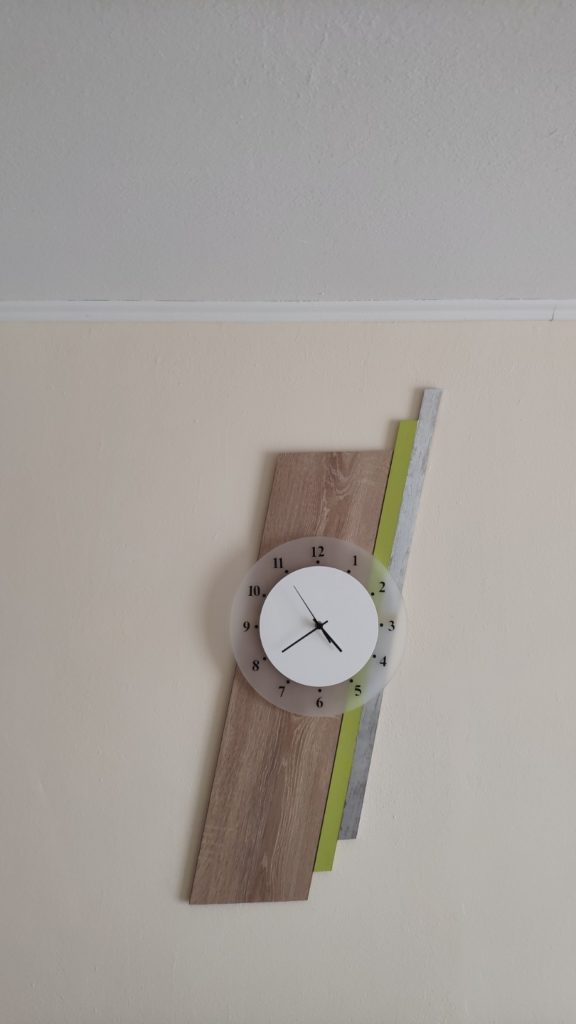
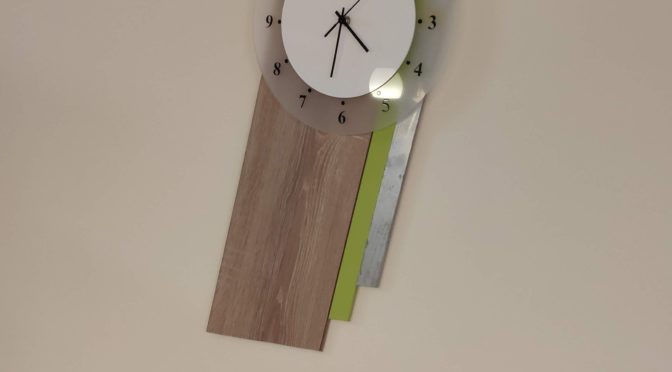
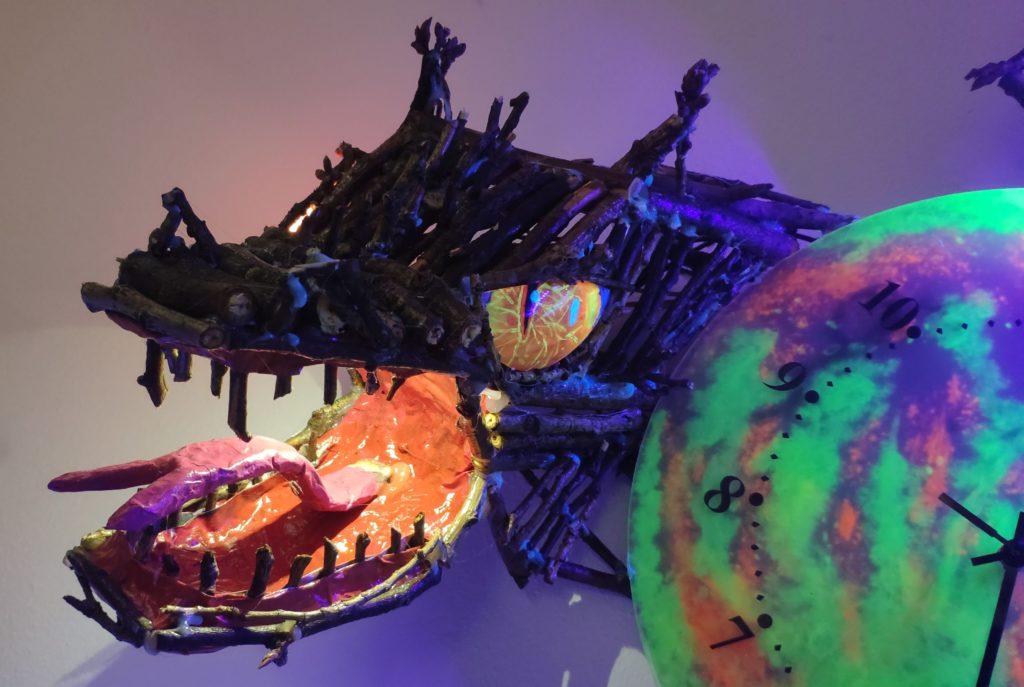
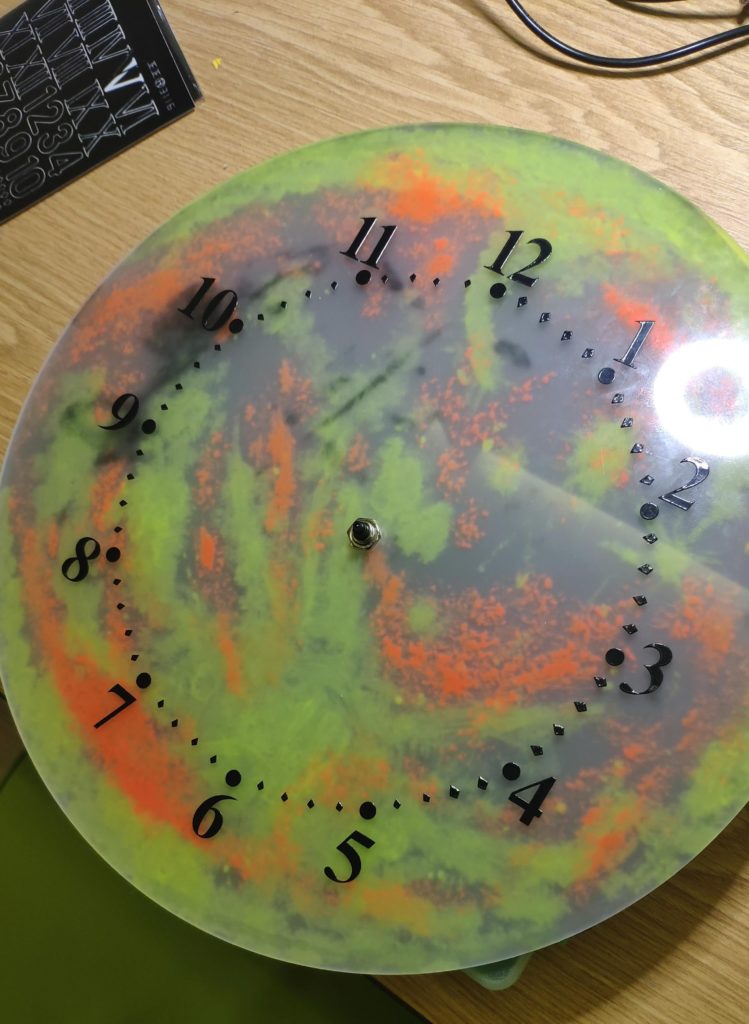
Just a wall clock I made to fit in the design of my living room…
Posted also on:
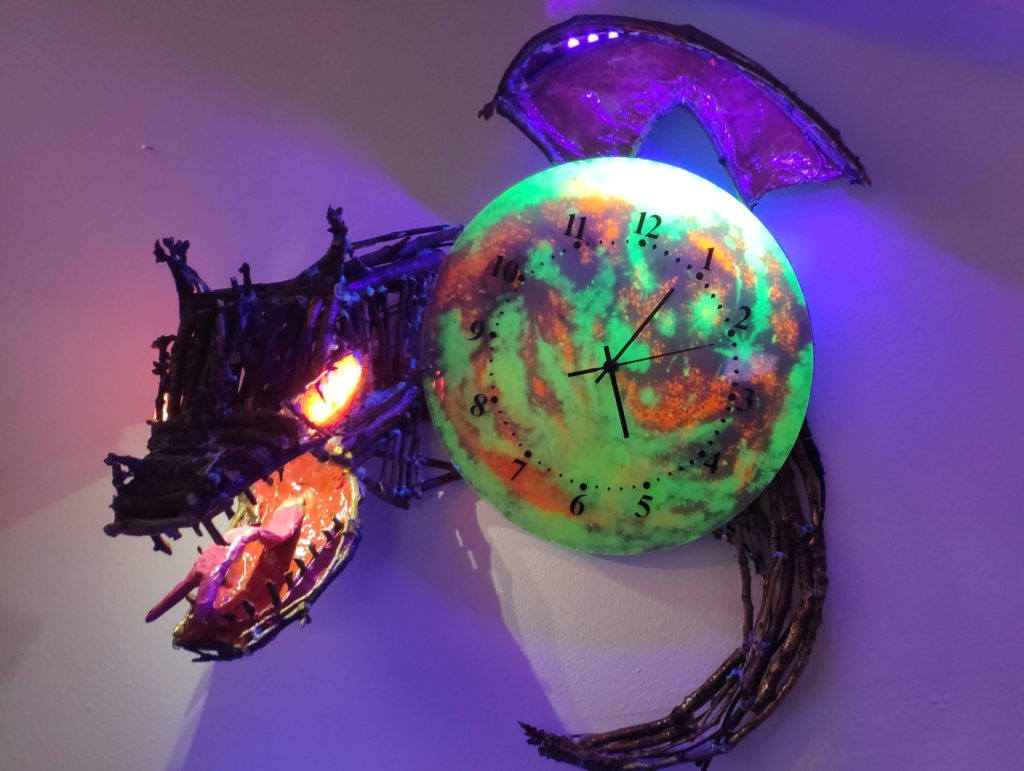
https://www.instructables.com/id/Bone-Dragon-Moonlight-Clock/
Entered in contest: https://www.instructables.com/contest/clocks2020/
Some time ago I built a clock for my living room, since I found nothing to buy which had at least tolerable designs 🙂
Of course my son seeing this had a request of his own. So to summarize, he said he wants:
Supplies:
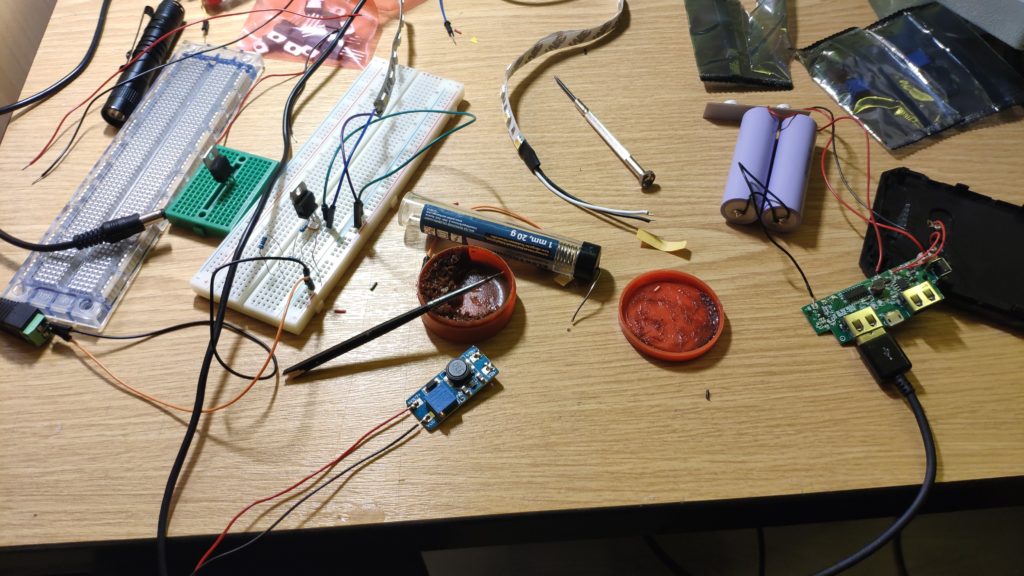
OK, so I started with the electronics. In this part I wanted to do the following:
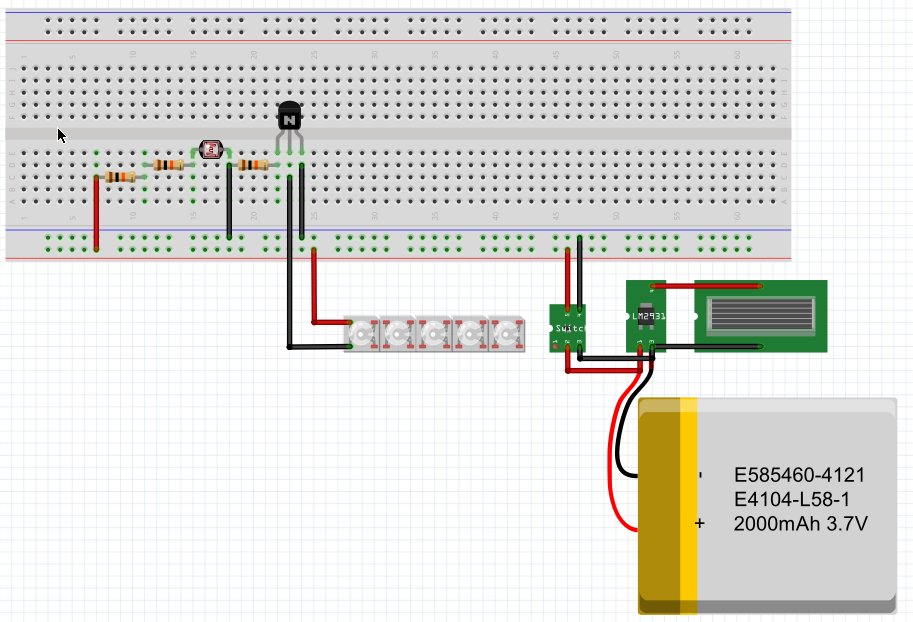
So I started putting all together like shown in the fritzing sketch: 3x 10kO resistors, a simple photoresistor and a TIP120 transistor. All connected with the 12V leds and the 3.7V battery/solar charging module (also used a 3.7V to 12V voltage step-up converter)
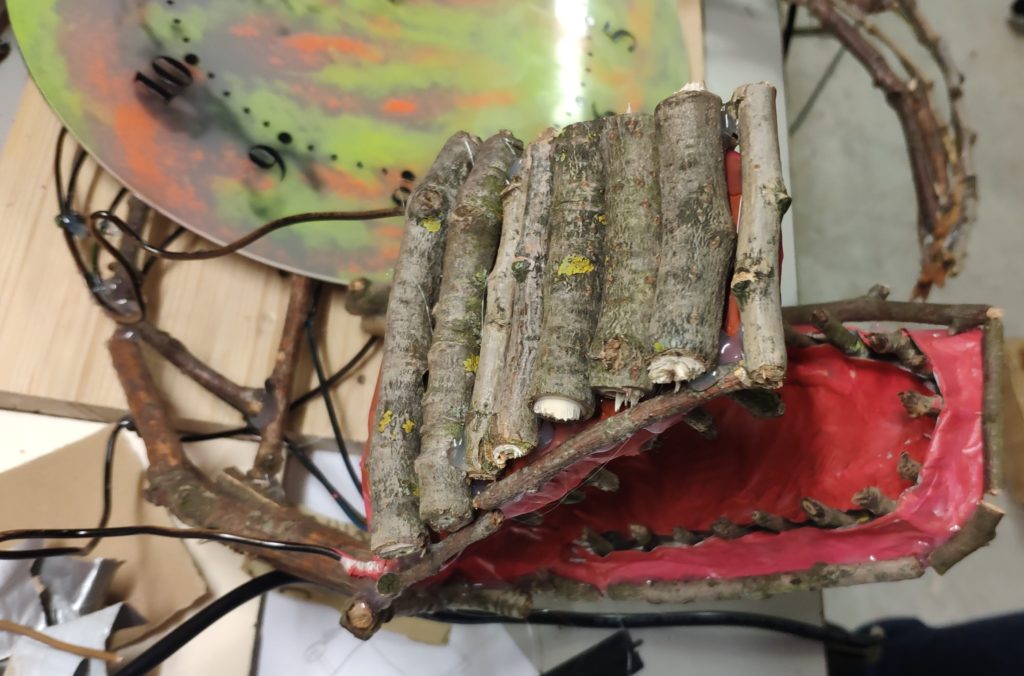
I went on to build the actual clock. I started painting the back side of the acrylic glass with:
Amsterdam Specialities – black light reflective paints
Started with yellow, and went on with some orange/red to give it a moon-like structure paint. While painting it I used a black light flash light to check the effect.
After that I fixed the clock module in the center of the glass.
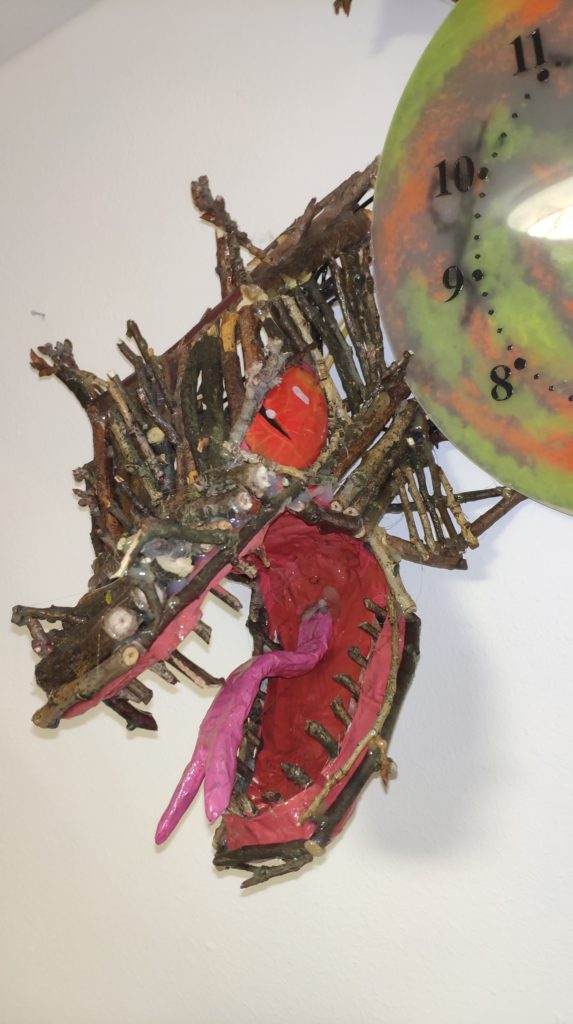
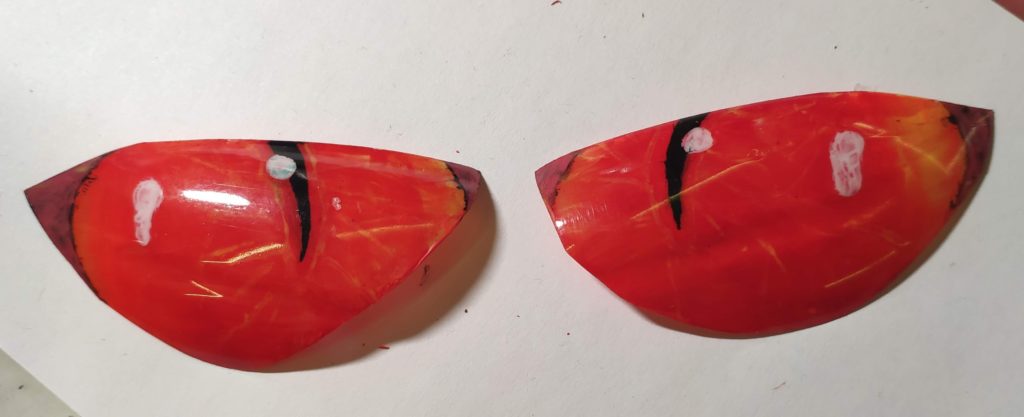
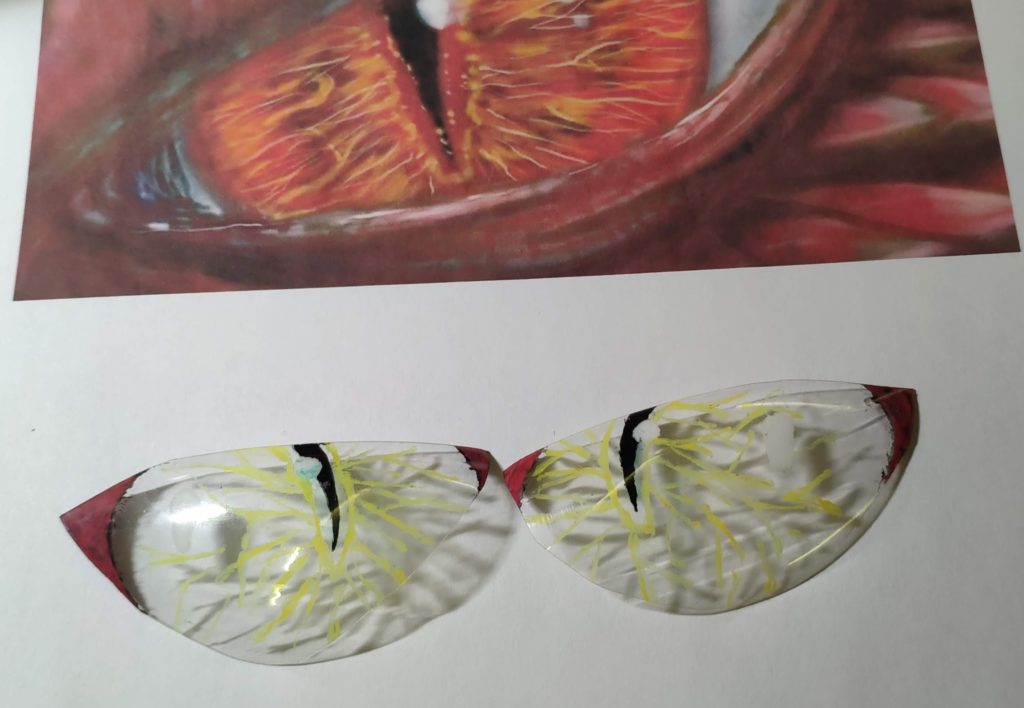
OK, for the eyes you need to take the time since they have to be nice.
First I printed something from the internet, in the style I wanted. Then I cut out the form from the bottom of a plastic bottle. Then I painted them on the inside starting with black, then yellow, then the red base.
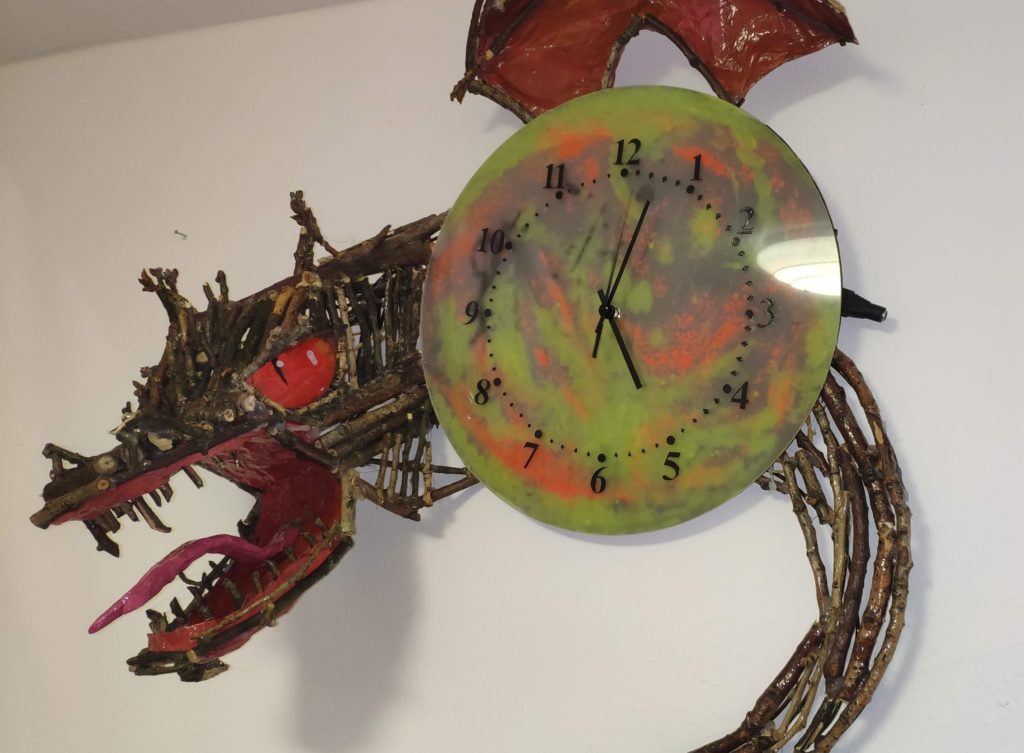
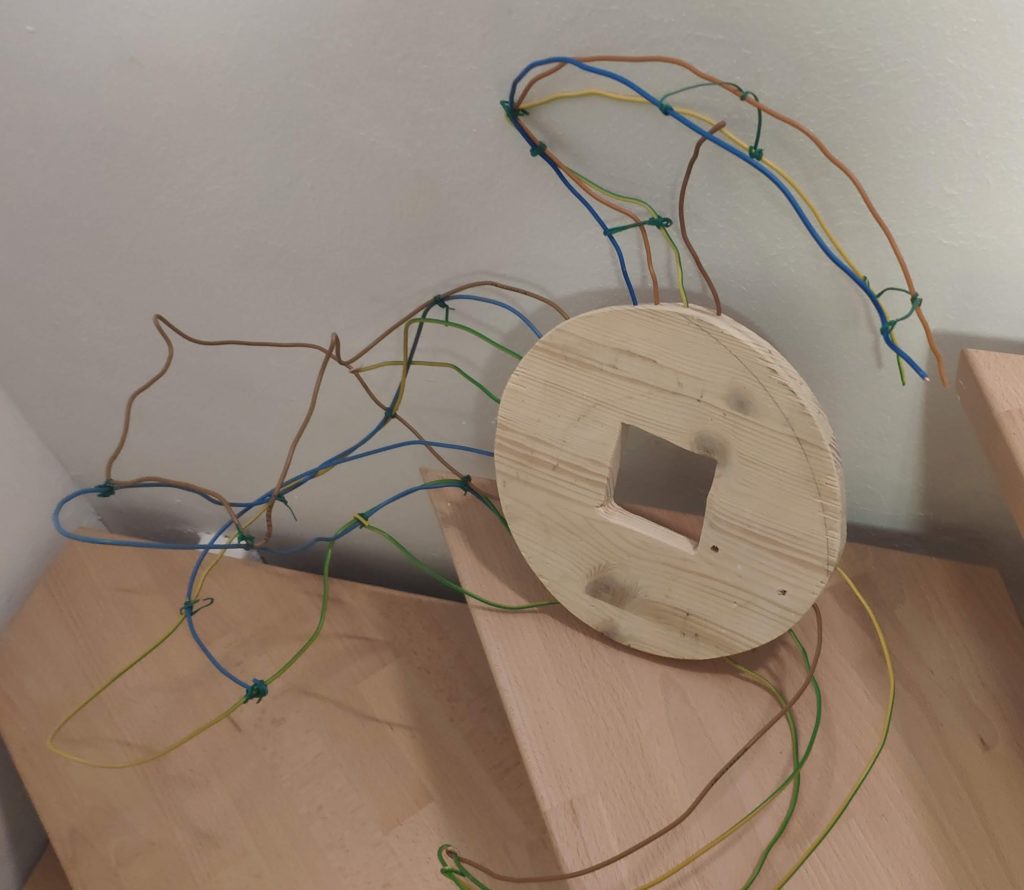
Then I cut out a wooden circle and inside a rectangle to fit the clockwork.
Then using a lot of wire I started to form the base of the dragon, which later on had to hold the branches and twigs. It consists of 3 parts: the head, the wings and the tail.
I had to watch the form having in mind that the mouth should be lit, the eyes need a plain spot, the wings need to cover the black light led strips and hold the solar charging module.
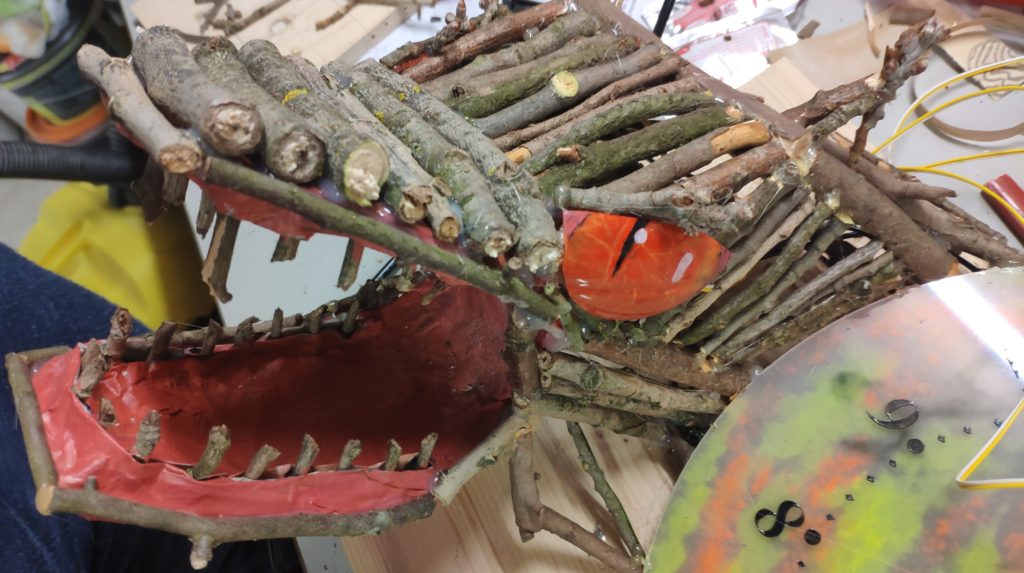
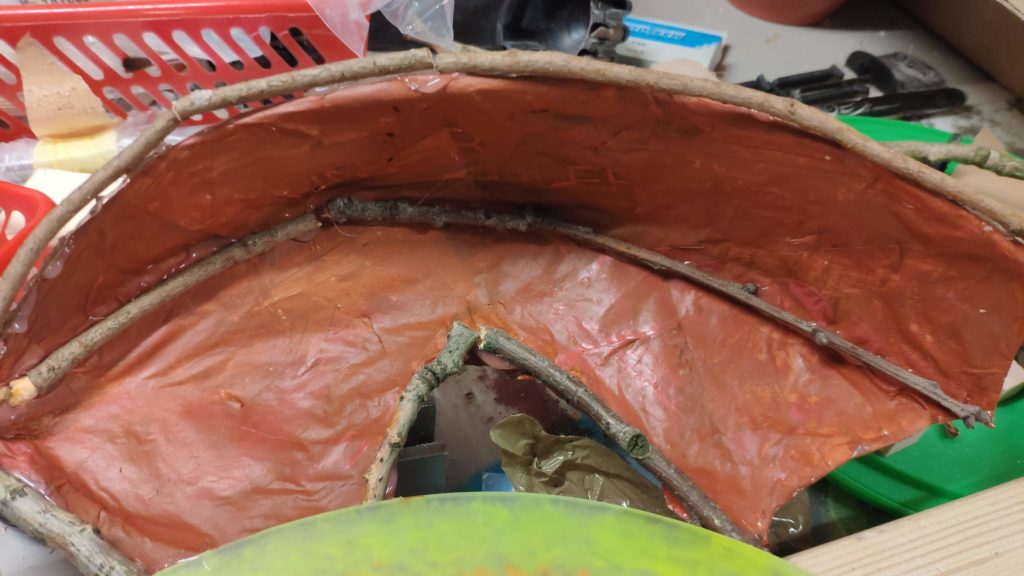
Now every part of the dragons I planned to do with twigs, but the inside of the mouth and the wings had to look more real so I used some papermache, which will be painted red in the next step.
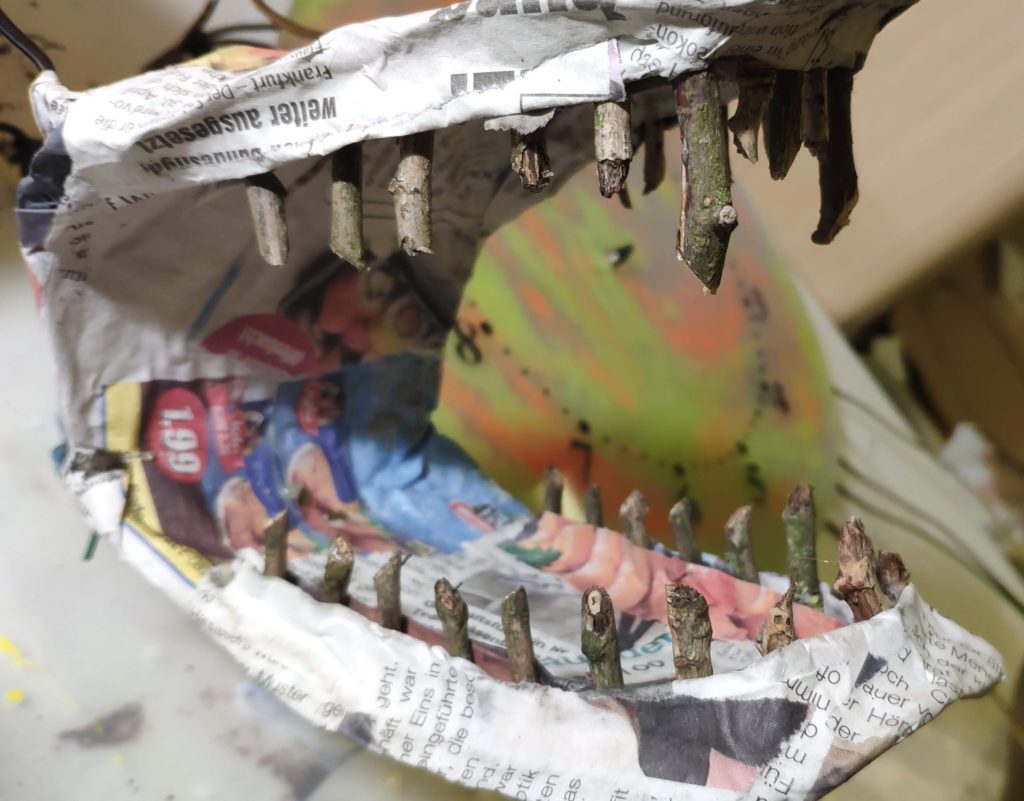
The teeth (also twig parts) I fixed first with hot glue, and covered with papermache.
For this next step I almost melted my hot glue gun 🙂
I started covering all the base of the dragon with cut twigs, following its form and body parts. It took some time but it is really fun to see how he grows 🙂
Also used some twigs on the wings to give everywhere the impression this dragon consists only of bones … hence “Bone Dragon”
For some finishing touch we made it all shiny with a clear coat spray. I sprayed some more on the inside of the mouth.
At the end I put on the electronics and glued all parts in place:
Hope you had fun, we sure did 🙂
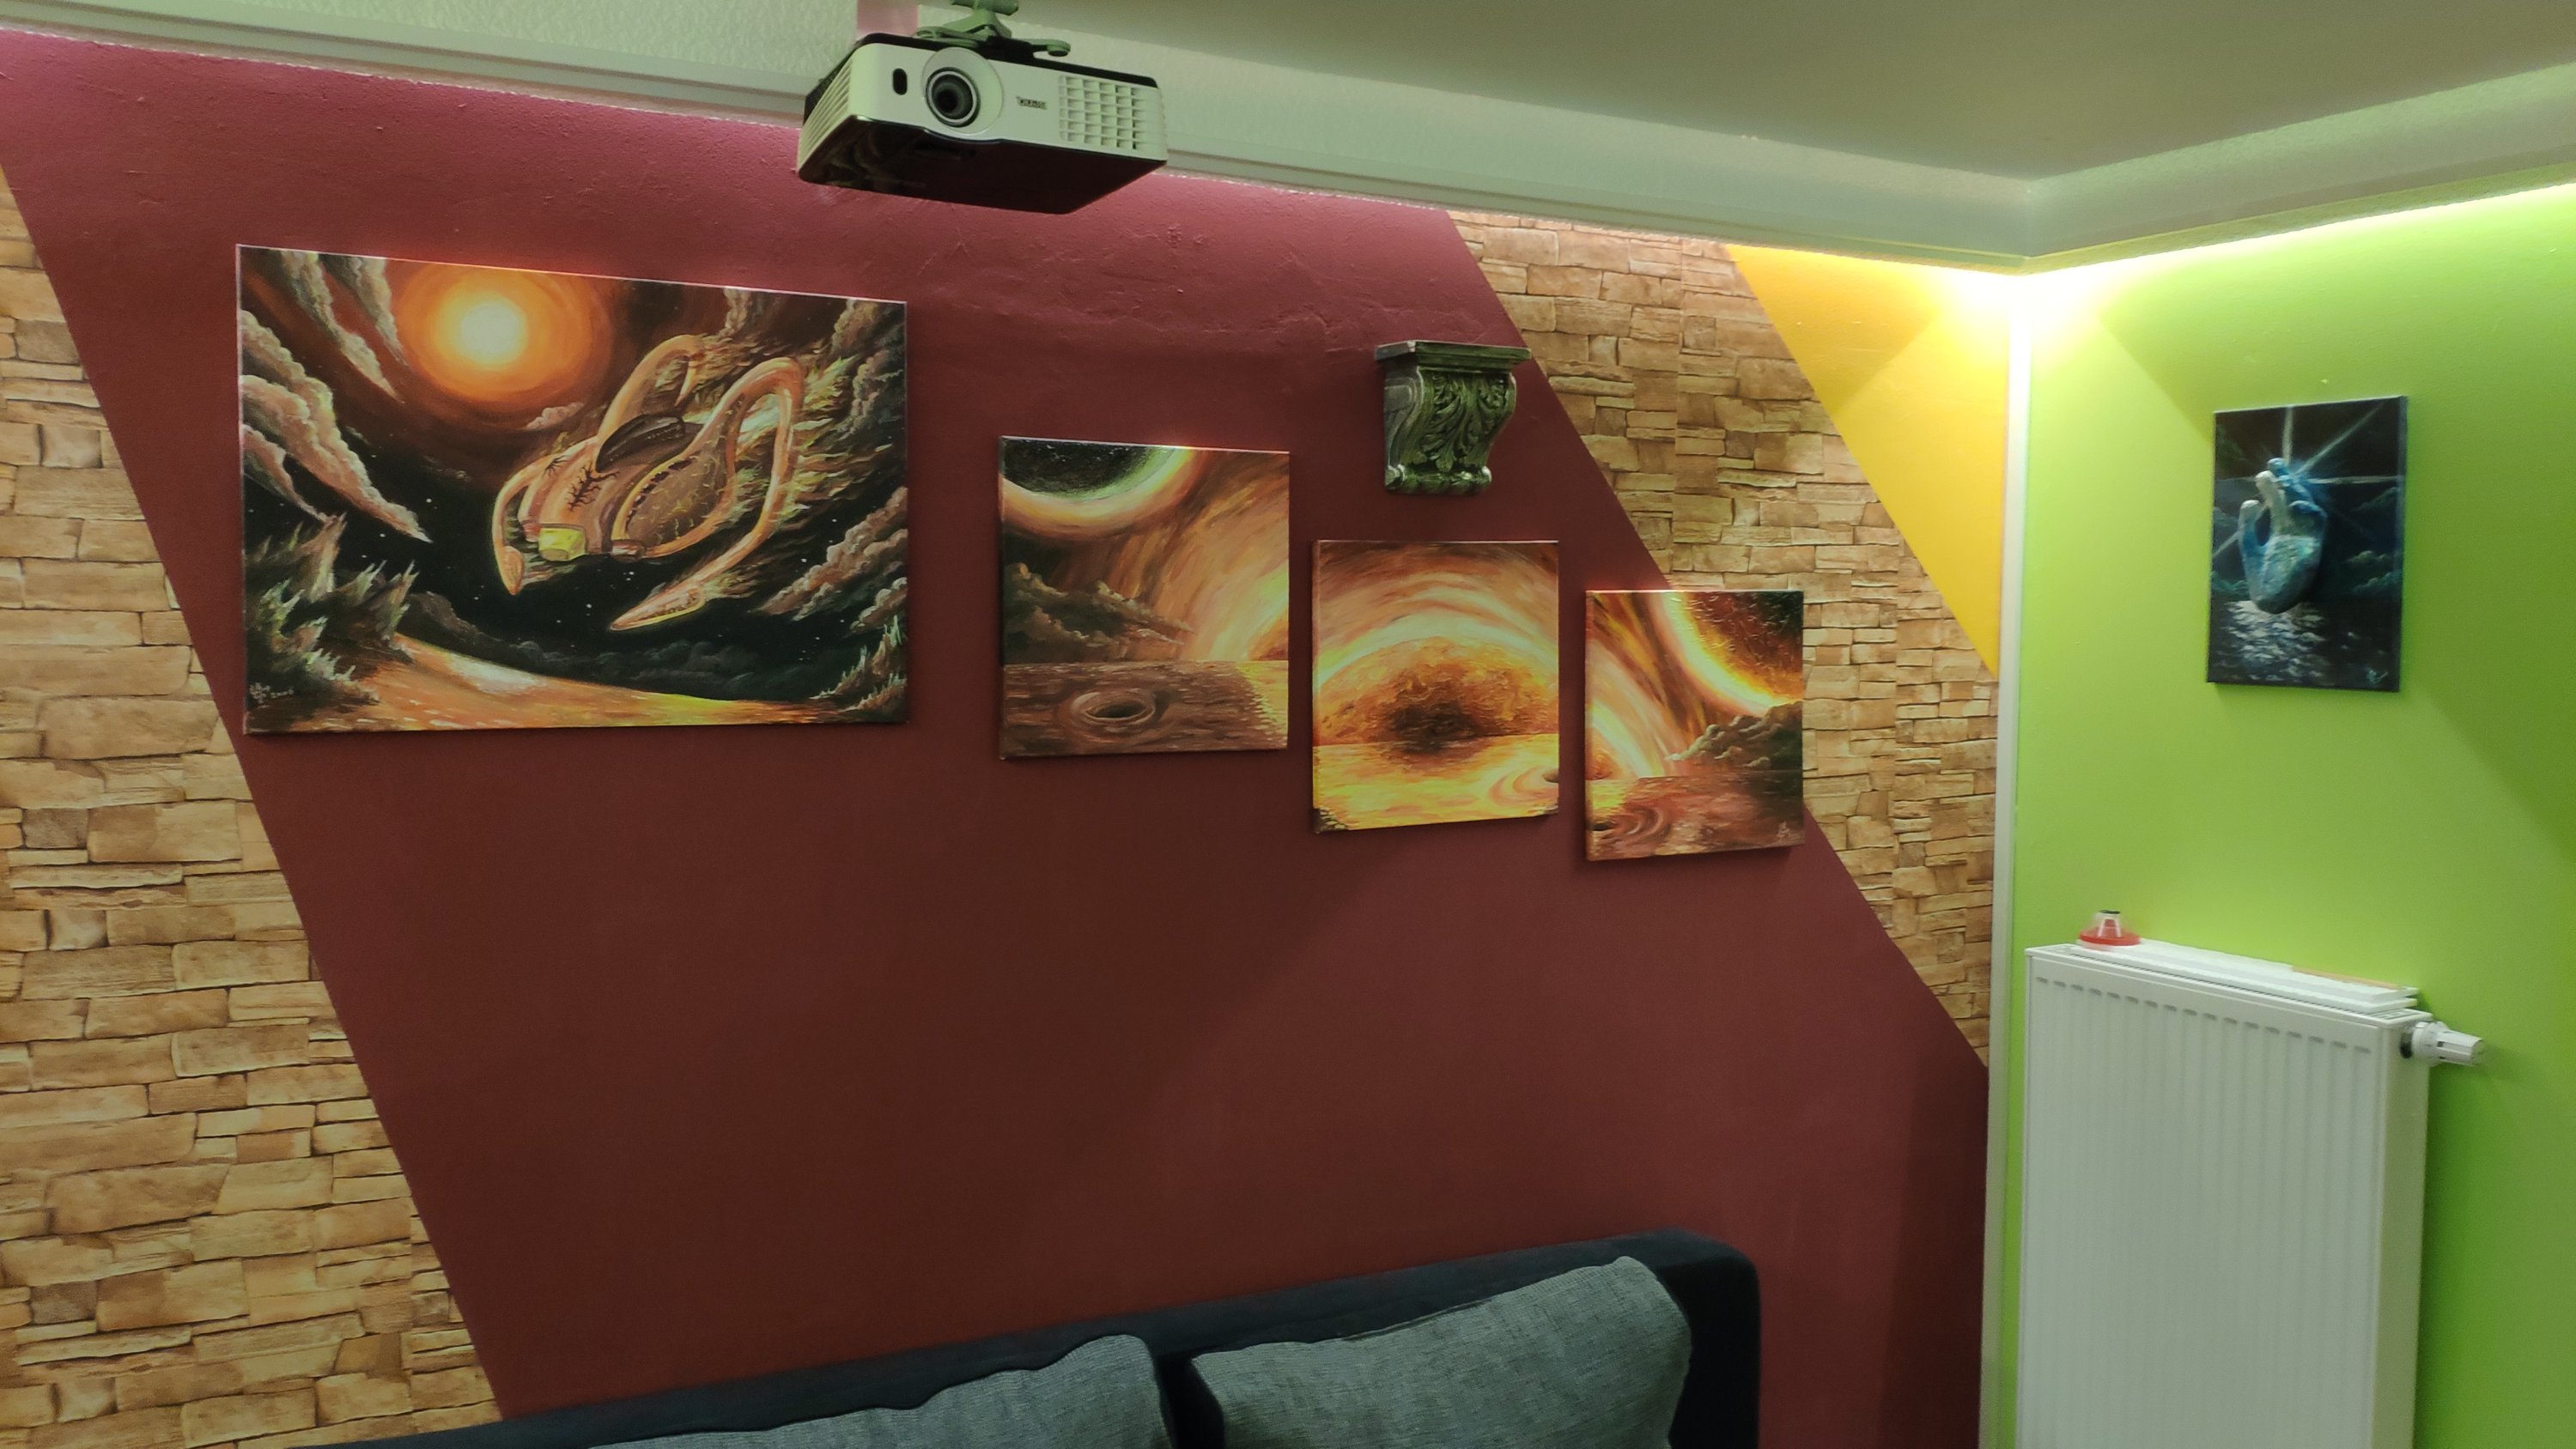
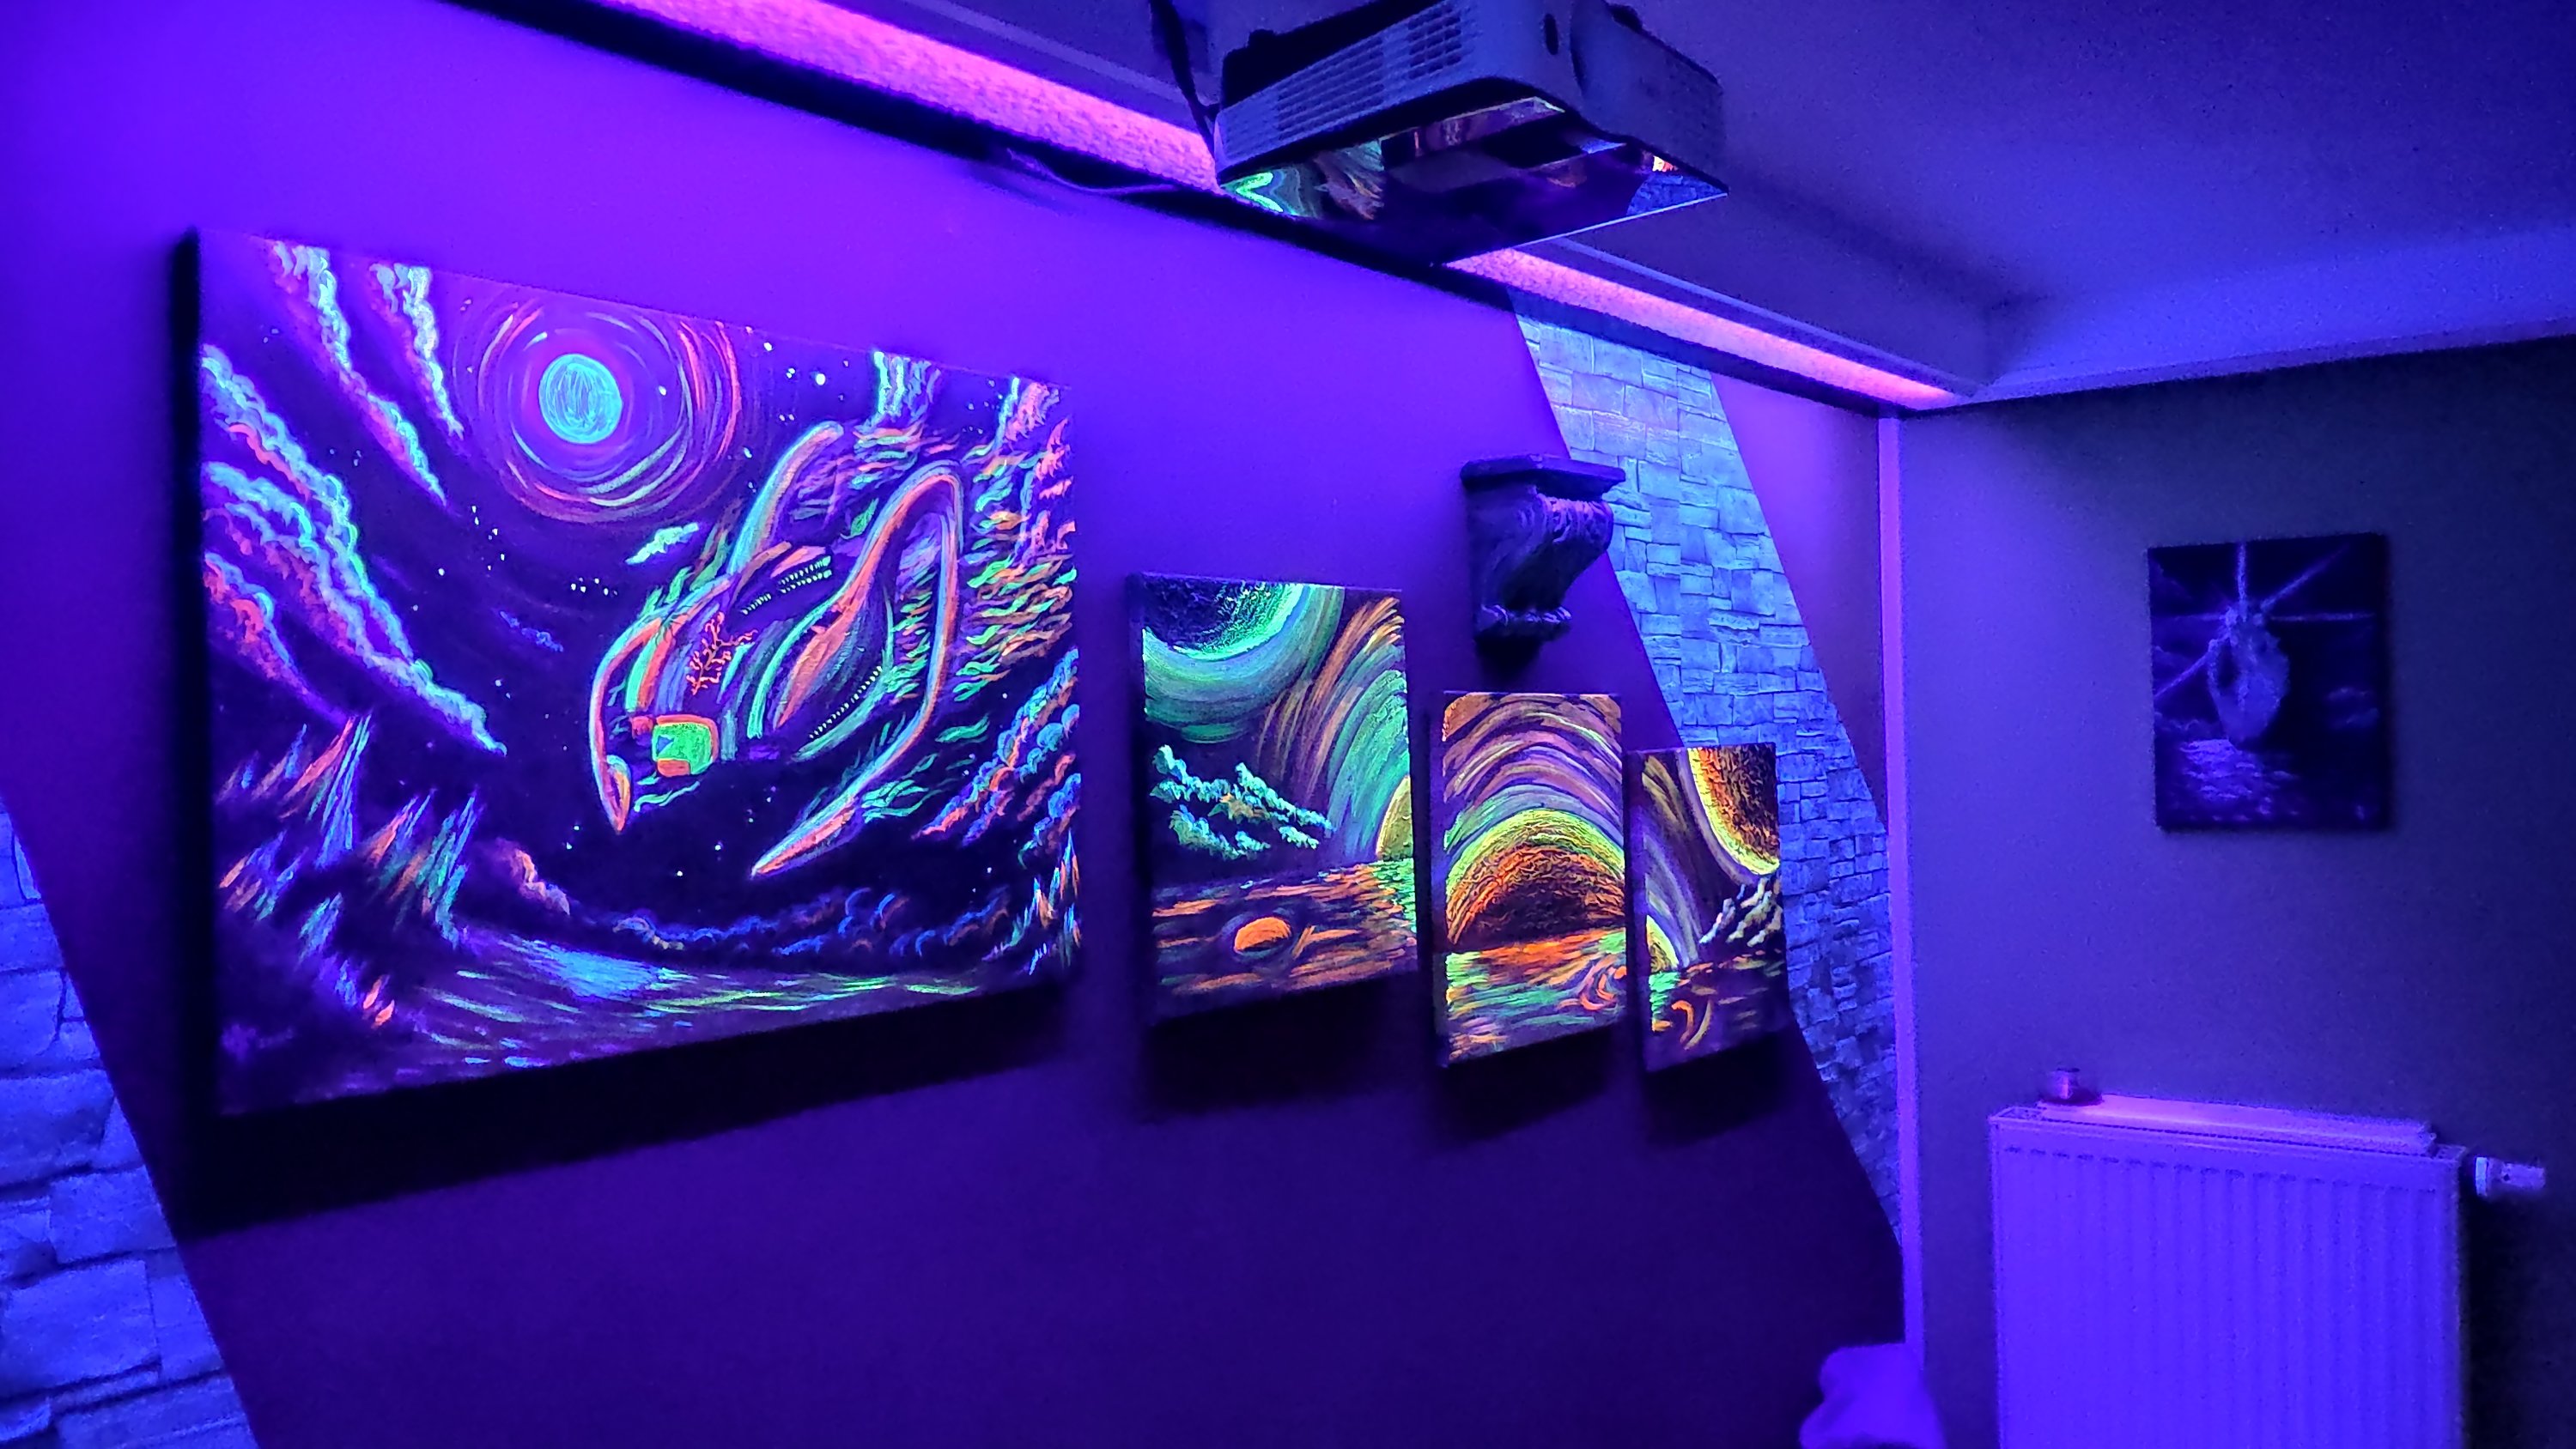
Had some very old paintings of mine hanging around. And since my new hobby room was quite empty, I thought about decorating it with some uv light. Just added a layer of uv paint on the paintings, almost not visible using daylight. But when using the night mode, we get a nice and cozy ambient light.
Just another cake with a light fury from the last “How to train your dragon” movie. My daughter did the dragon, my wife the cake. To think about it I don’t even deserve to post it on my page for just making the flowers…


Video: https://youtu.be/7wwv_Az_uWw
Actually this is a project which I started last year and was not able to finish it then.
Using WS2811 led lights (not strips) I thought about making a Christmas tree light being able to control every single led using an Arduino. This is actually very simple. For about 100 lights, I used a 10A power source just to be sure. Also next year I might add another 50 lights to it.
The best part about it is the programming. I found a lot of programs online. Took the nicest one, combined and tweaked them, and here is the result…